Retopology and Projection
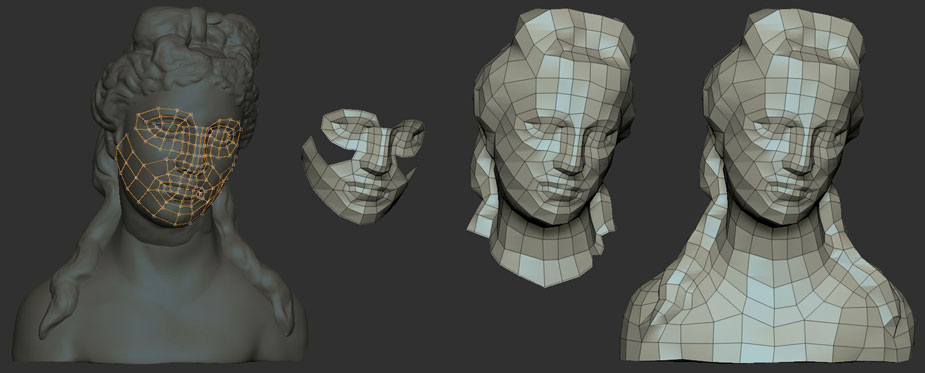 From left to right: The original mesh with the beginning of retopology, then the evolution of this retopology.
The TV broadcast required that I be able to show a transition from details of the original 3D scan to the finished model. To accomplish this I did a bit of a magic trick with layers. After retopology, I projected the original model onto my new 3D mesh. I then created a new layer and did a second projection using the final model. I also did some various editing between these two stages through morph targets and the Morph brush, allowing me to correct minor artifacts caused here and there by the projection (especially on joint areas).
To be honest, these steps are all very technical and not very artist-friendly. But at the end, having a retopolgized model brings a lot of benefits as it lets you work with multiple levels of subdivision. This provides a better sculpting feeling, lets you more easily refine the global shape if needed without losing the top details and more. You might also notice that the topology is quite uniform and constant. Each polygon is as square as possible and the size is close to be the same everywhere. Thanks to this, I was able to have the same density of details across the entire mesh and I didn't need to add more subdivision levels to certain areas because they lacked polygon density.
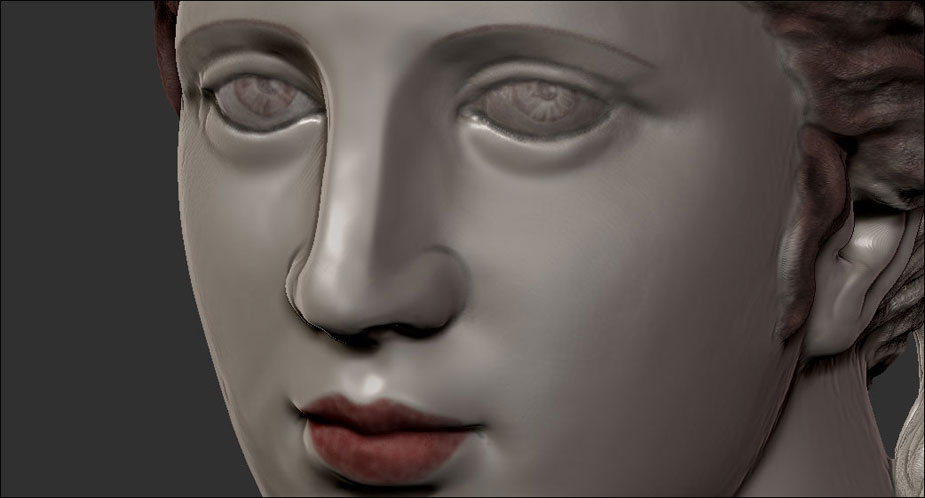
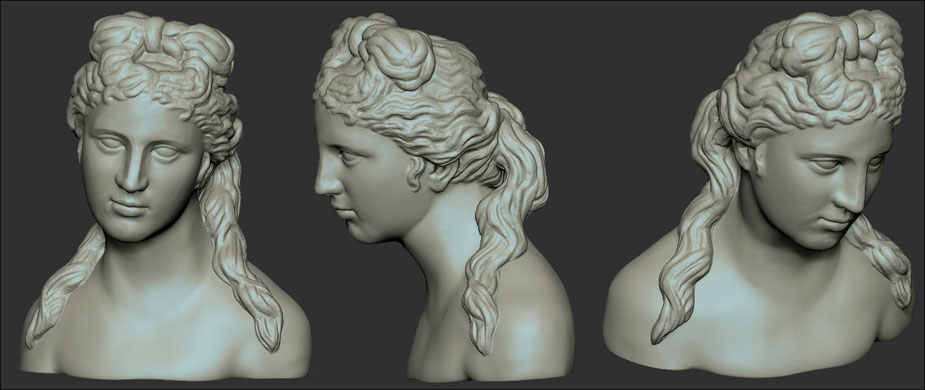 The final version of the sculpt, before the painting stage.
Painting
It now came time to meet Pascale from the museum in real life, as well as Brigitte -- a great specialist in research on the coloring of old statues and in polychromy. She spent some time analyzing to find the colors of these old pigments, but the more she found, the more some of our hypotheses would fall apart. As an example, black pigments on the statue proved not to be color at all but where in fact carbon. That's how we learned that this Venus had been in contact with fire at some point in her history!
Pascale's job now began, including all these new constraints. She had to figure out all over again how to paint this Venus as what we'd learned didn't match our original assumptions! The first pass was to create black marks on specific areas as was usual on old sculptures, like the border between the skin and hairline, the corner of the nose, the eyes and some areas of the lips. Later, we worked on the hairs and tried to find the best corresponding color, added some dark areas in the hairs cavities and also cheated the specular on the tops of the hairs. At a later stage, we focused on the eyes and lips.
To explain the technical aspect of this process, all the PolyPainting was done on layers just as had been done with the sculpting. This let us paint areas without affecting underlying layers or erase other areas when needed. The brush used for this was been mainly the Standard brush with various modified alphas, sometimes mixed with Lazy Mouse and Stroke variations. We always worked at a very low RGB Intensity.
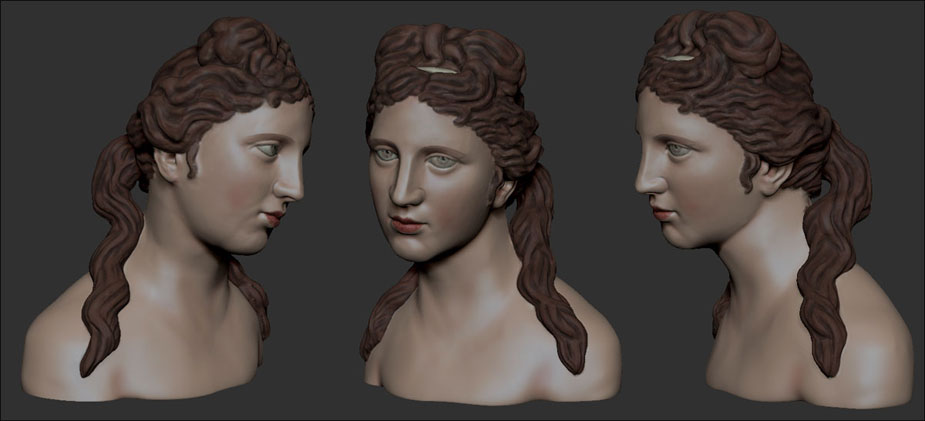 The final version of the Venus.
Preparation of the 3D Print
An extra stage was to create a model ready to be printed as a real-world object. For this I created the UVs with the help of UV Master. They were done with a single click as I didn't have need for fully optimized maps.
The next step was mesh optimization with Decimation Master to reduce the polygon count to approximately 300,000 triangles which was enough for a quality print. Finally, I used 3D Print Exporter to create a VRML file including the texture and scaling information.
I know that the Printing company will hollow the model to reduce its total volume, reducing the printing cost. I didn't manage this step.
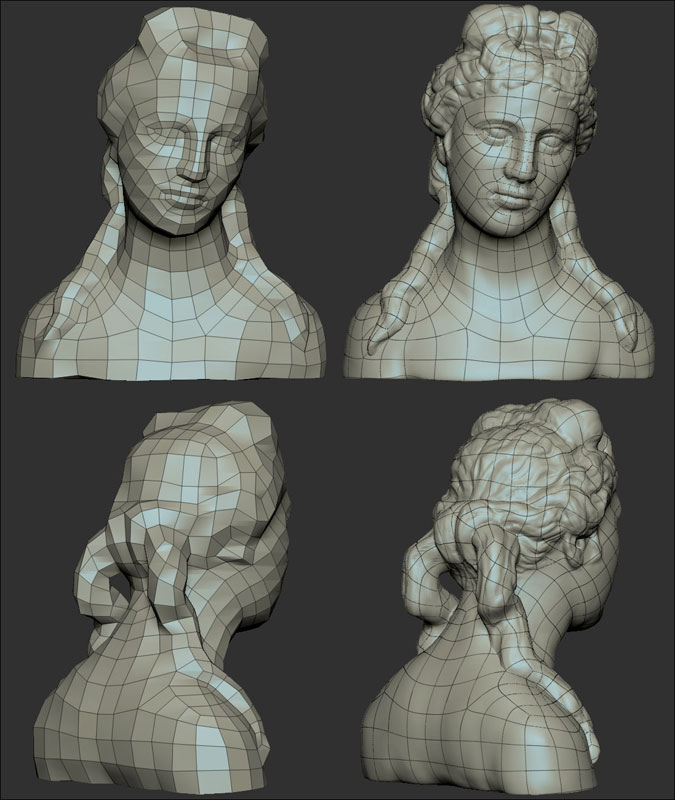 The finished retopology with the projected details. The polygon flow can be discussed by experts, but since this model won't be animated I could skip some of my usual habits. You will notice that the braided hair and the body are all of one part.
Final Sculpting Steps
Now came time for all the small details and refinements, which was also the longest part. As usual, blocking the mass can be very quick and sculpting the small details can be very long! At this point it became a matter of decisions like, "The nose needs to be more in straight line," "the hairs must be less smooth and should have a scratch effect on the surface," etc. Every change was done on 3D layers, which allowed me to check as often as necessary to ensure that everything was fine without the risk of breaking something. This also provides us with the ability to test things we wanted to try, which was a great freedom for the research parts of the project.
 The eyes colors are very low like the color of the lips. Notice the eyebrows style which is like a pen stroke.
Because of timing issues, I had to finish the color painting later. But to be honest, I'm not a big fan of the color even if the museum was very happy with the result. (Yes, that is what was most important, but I'm a perfectionist!) It has been very hard to choose the colors and style as recreating something from 2000 years ago has too much that's simply unknown. This is partly because most of the previously founded statues have been scratched, partially destroyed or otherwise altered by the research done on them over time. Many have also had plaster molds created of them from which to produce copies – a process that severely damaged the original paint job. I have in fact been told that we don't have a way to know anymore how these statues were colored. We can only hope to one day find new statues with more color pigment visible on them.
The Last Word
I came into this project with a lot of unknowns. In the end, I learned a lot about this field from the enthusiasts and specialists I had the privilege of working with, which has been a good booster. ZBrush was a great help, allowing us to do as much testing and research as was needed without a glitch -- even on some complex steps like mixing layers and detail projections.
Now it's time to wait for the 3D printed version!
Watch an 8 min timelapse of the entire project!
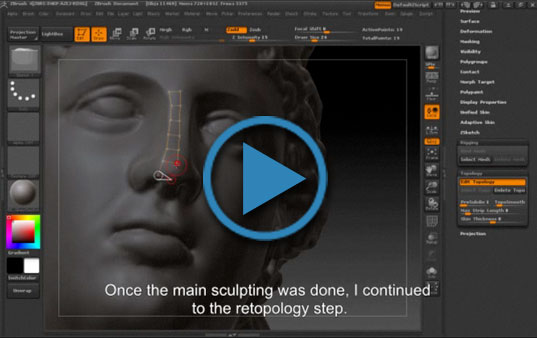
(click to view)
)
)
)
)
)