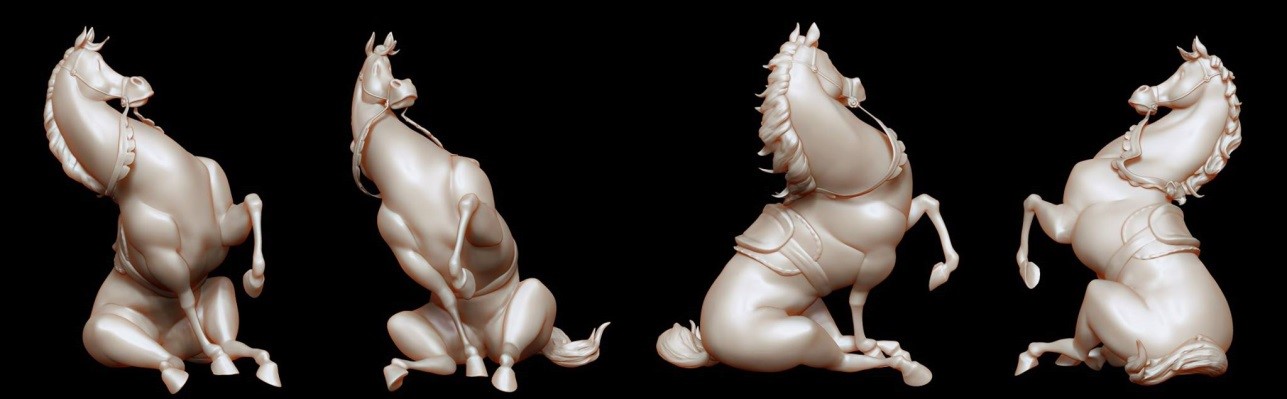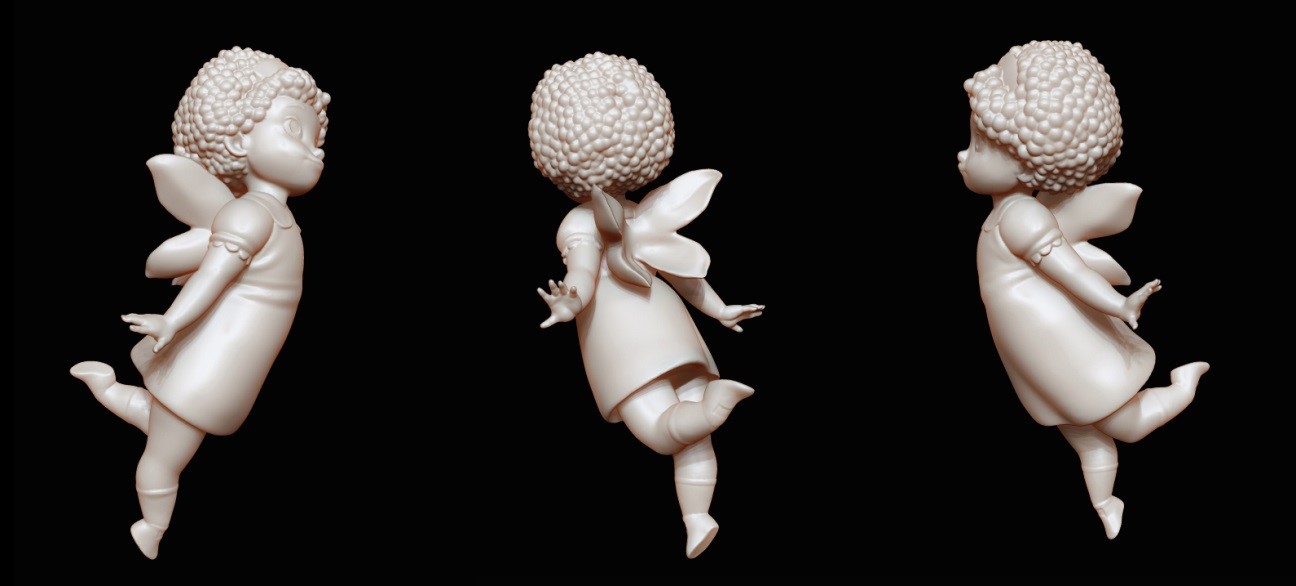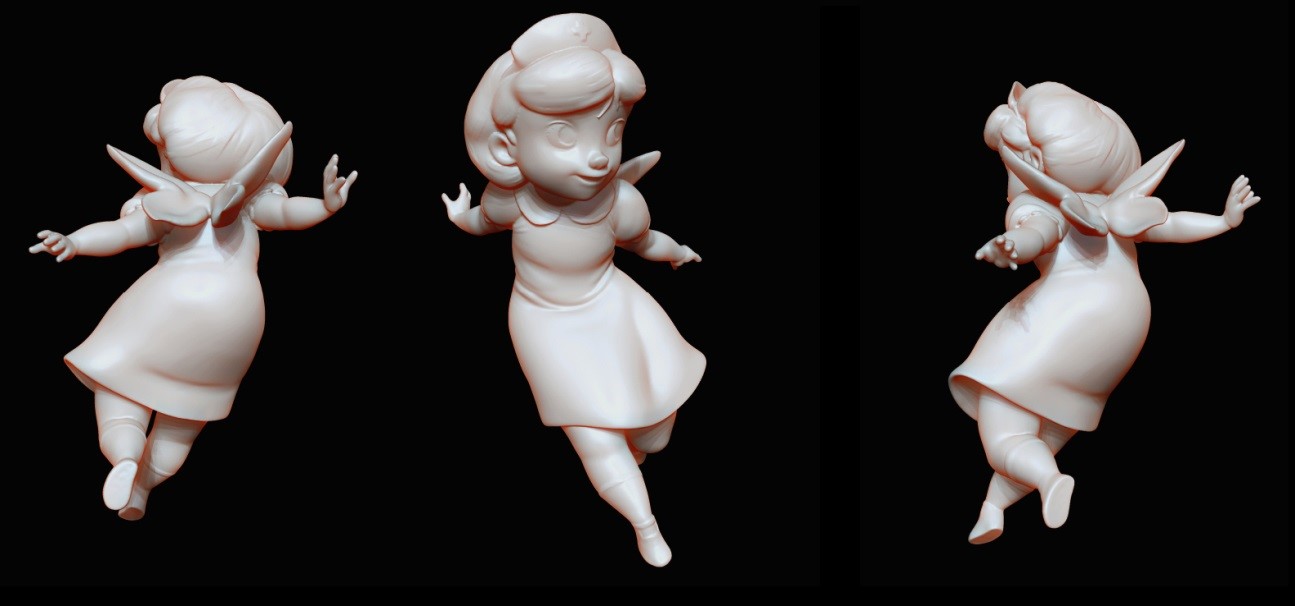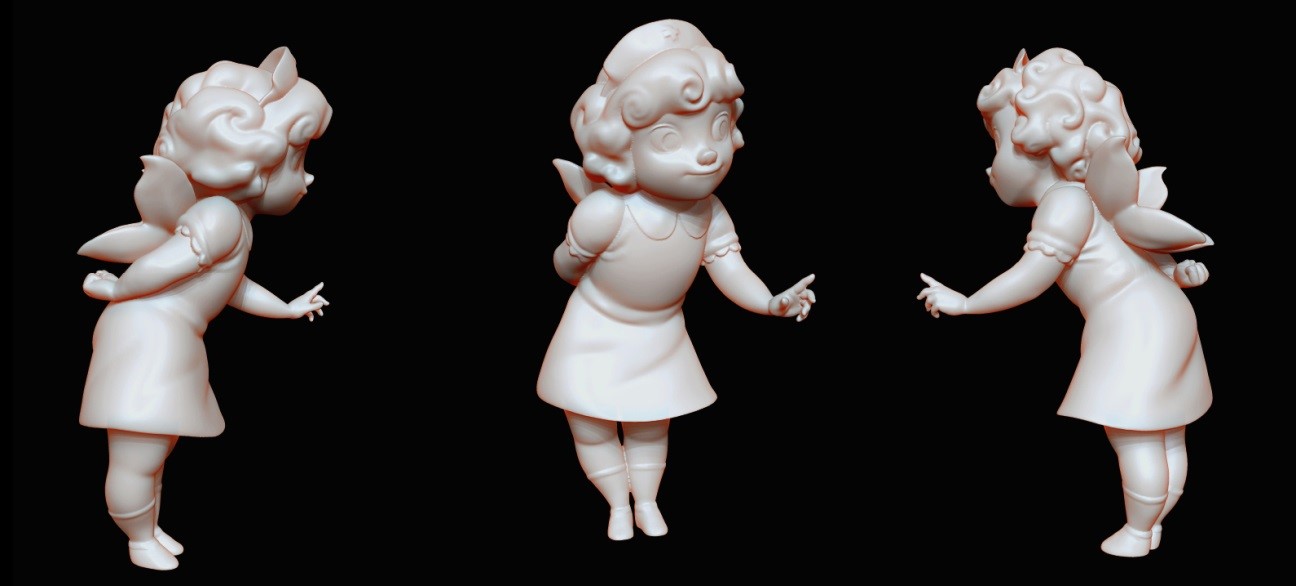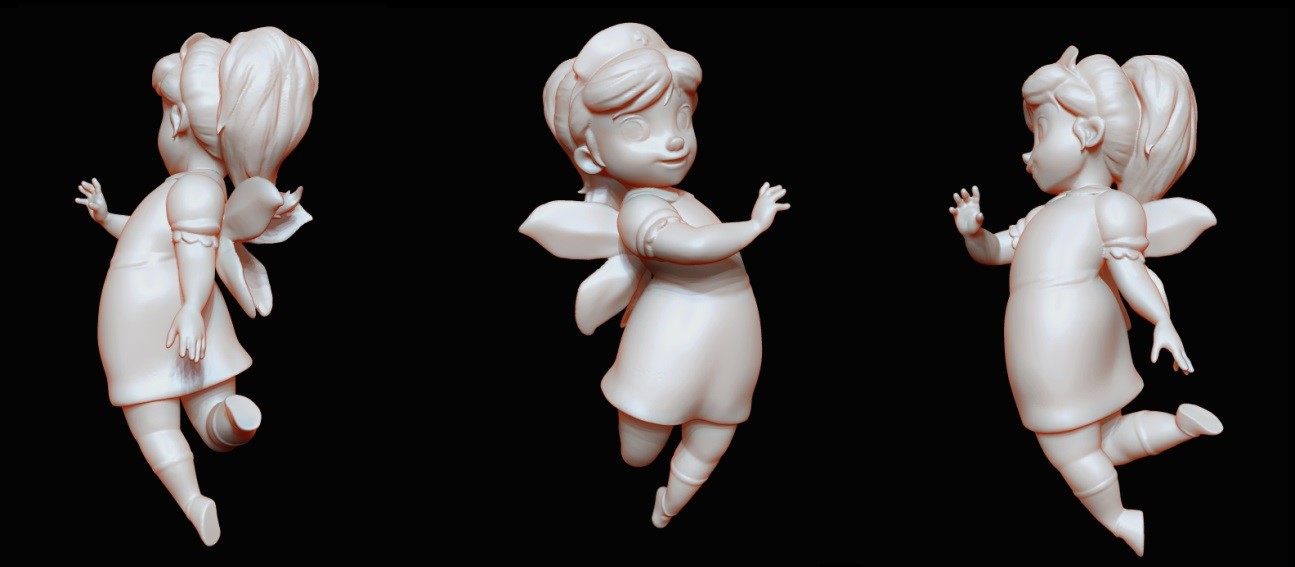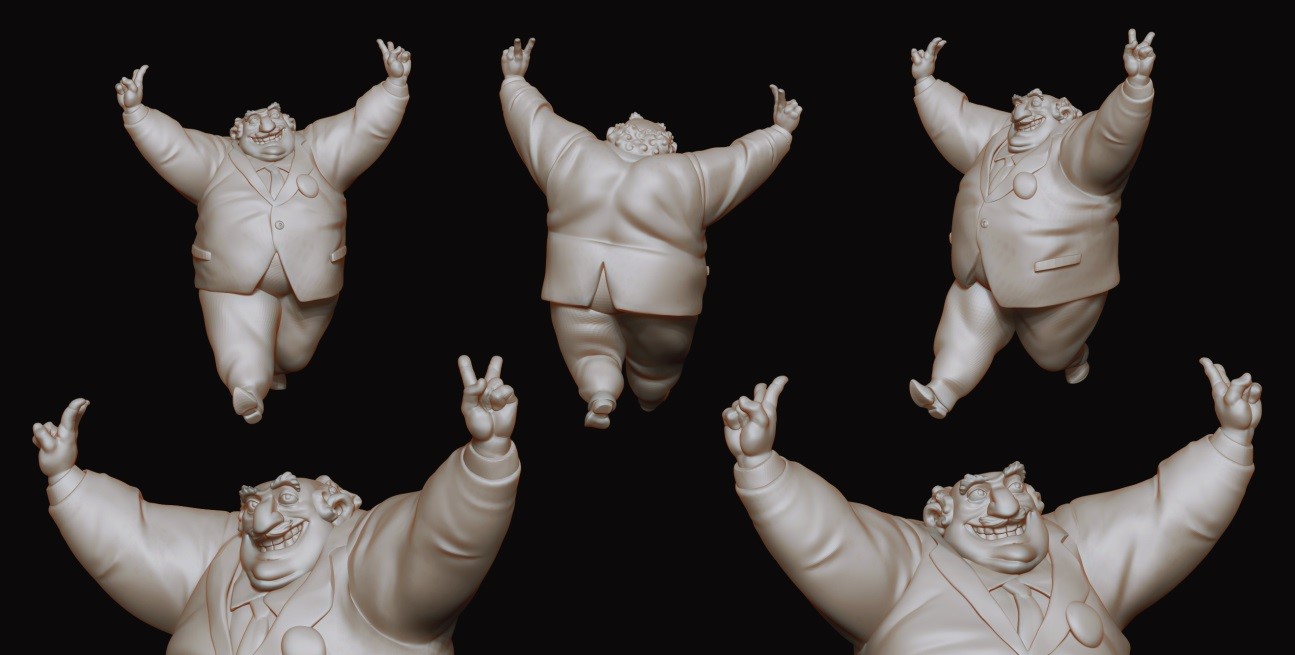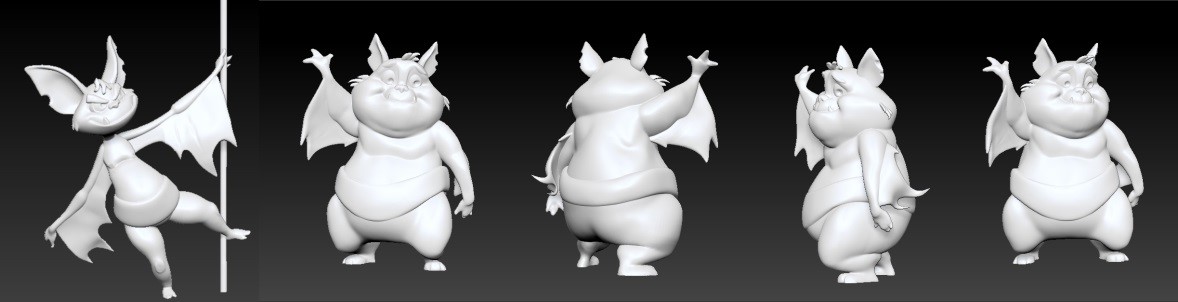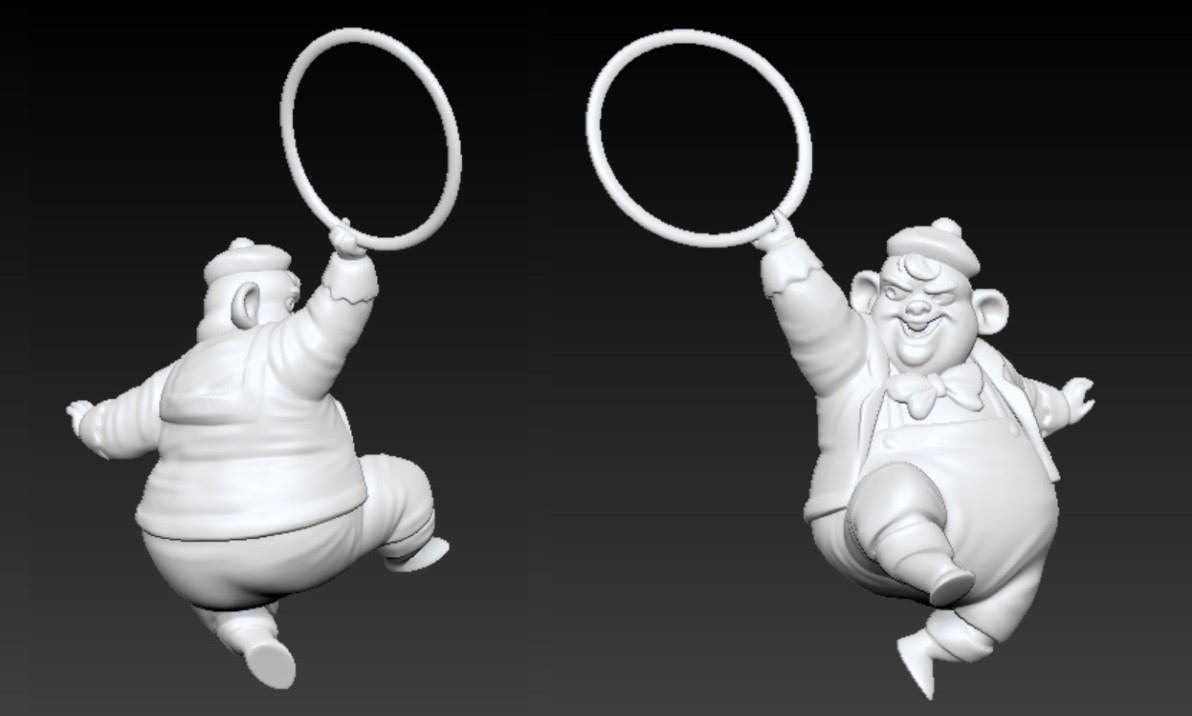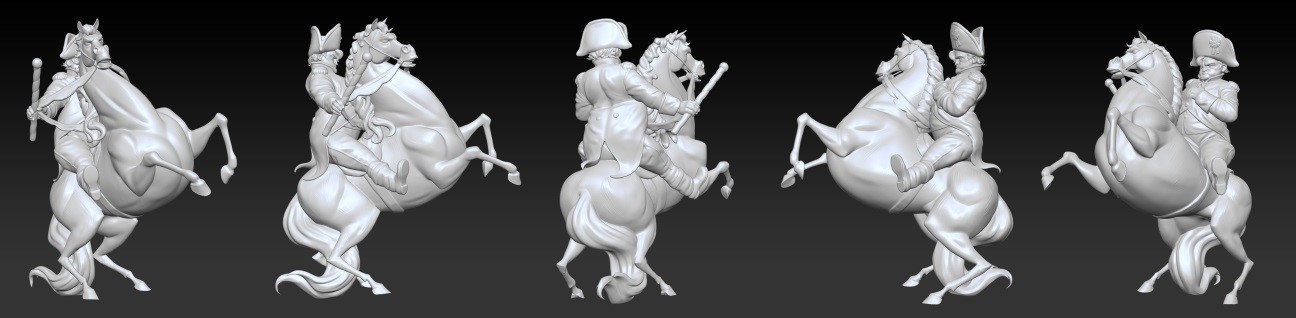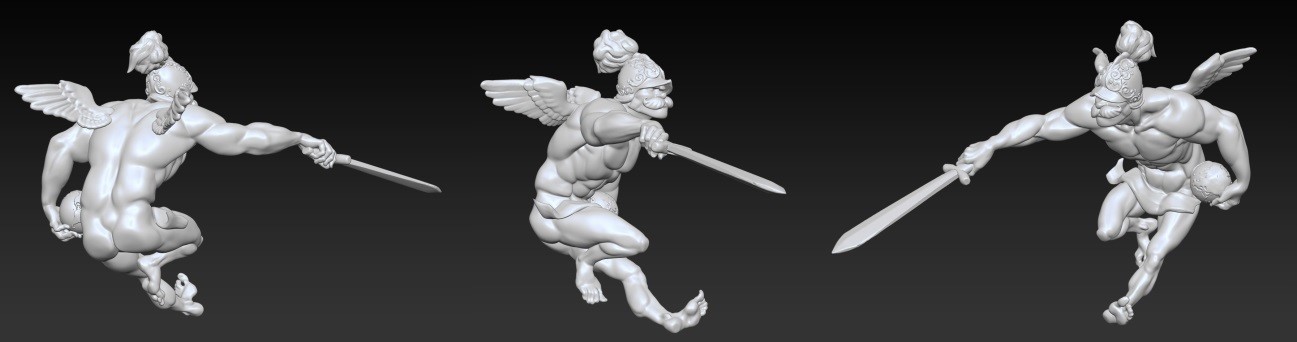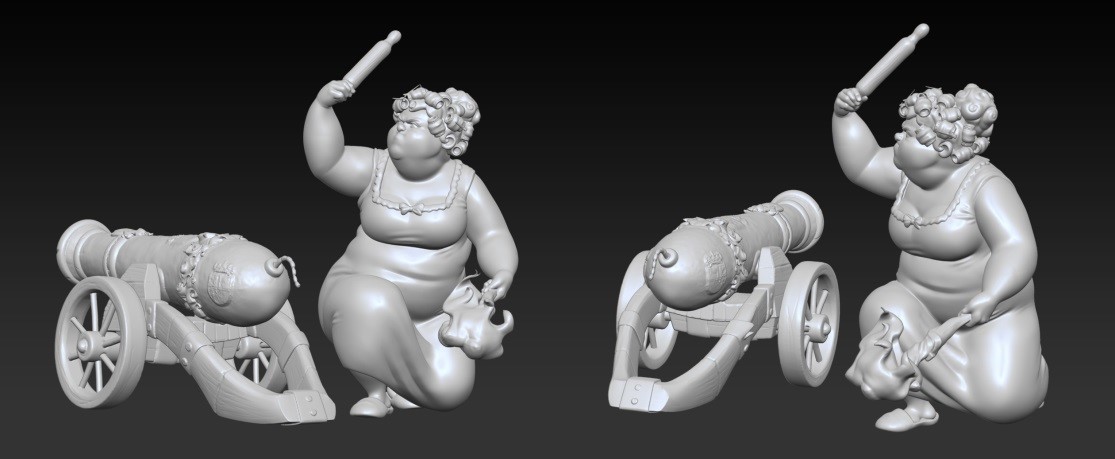
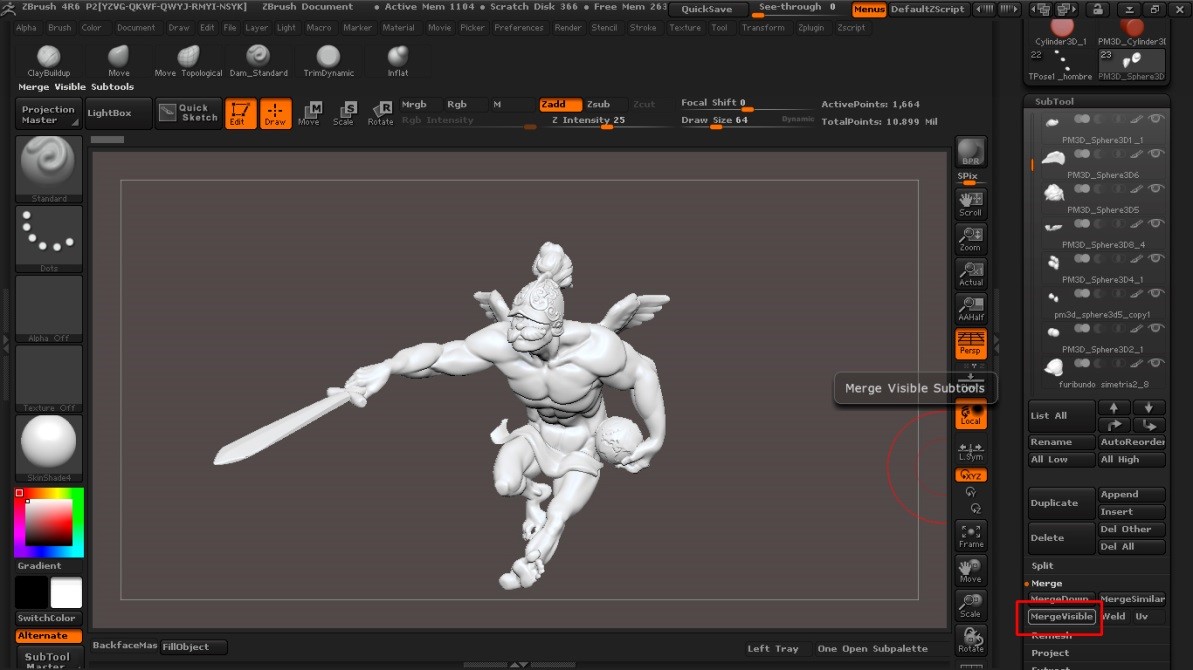
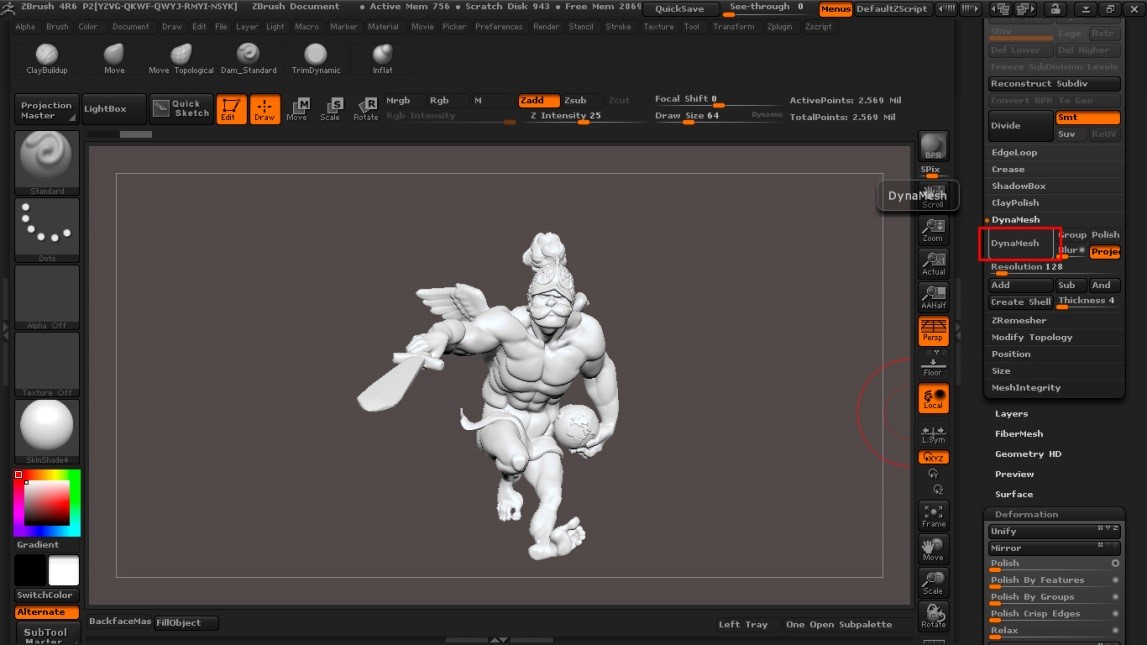
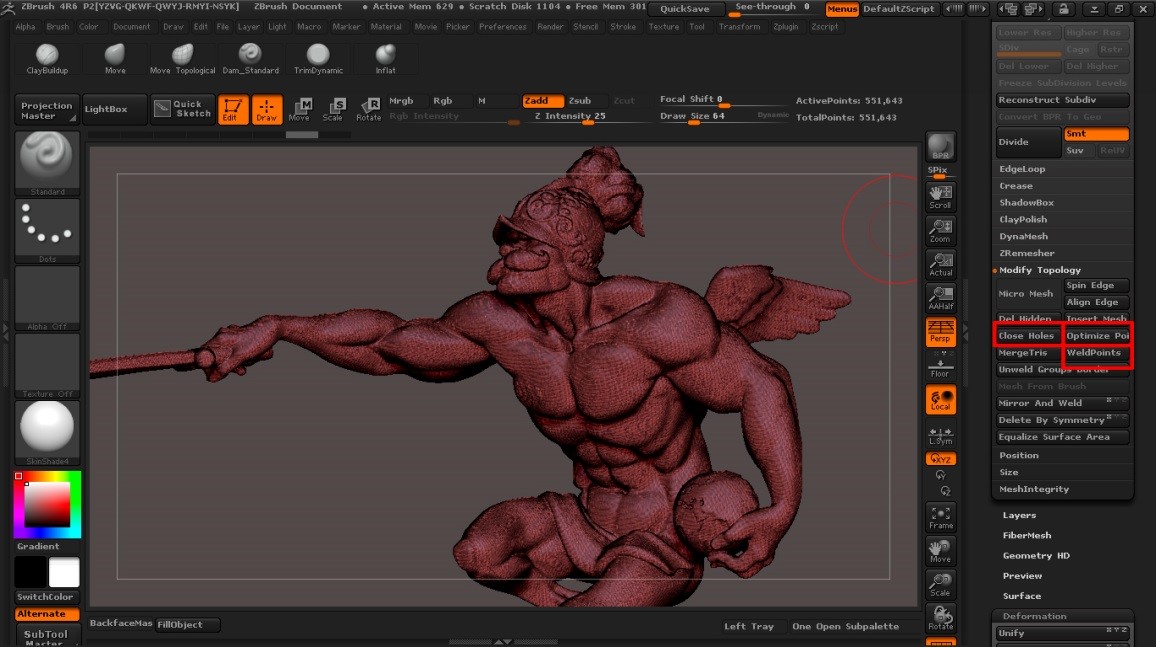
On a technical level, it is easy to create a falla model so it may then be printed by a milling machine. First, use the "merge visible" option in the SubTool palette to combine the model's subtools. Then apply a DynaMesh so the entire figure is welded into a single piece. The DynaMesh must be high enough in resolution so as not to lose excessive details and definition. Then, to make the mesh as clean as possible, click on the following buttons: "Close Holes", "Optimize points order", and "Weld Points." After this has been done, export it as an OBJ.
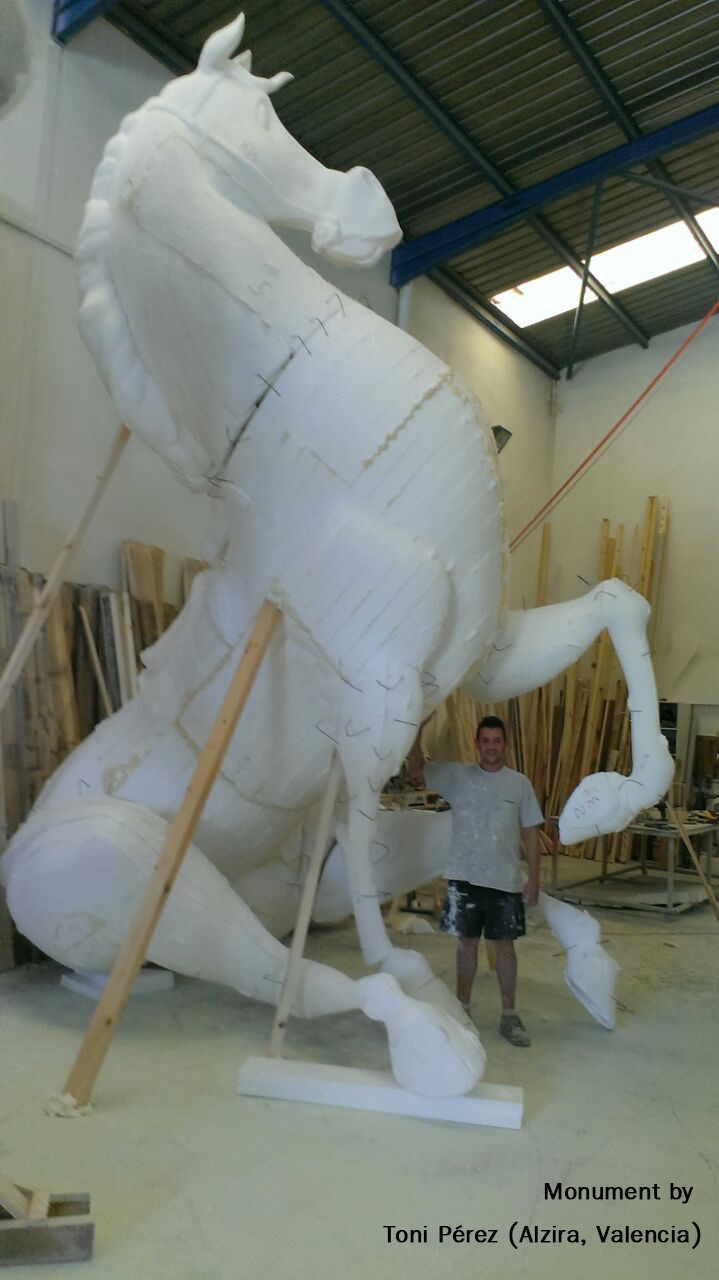
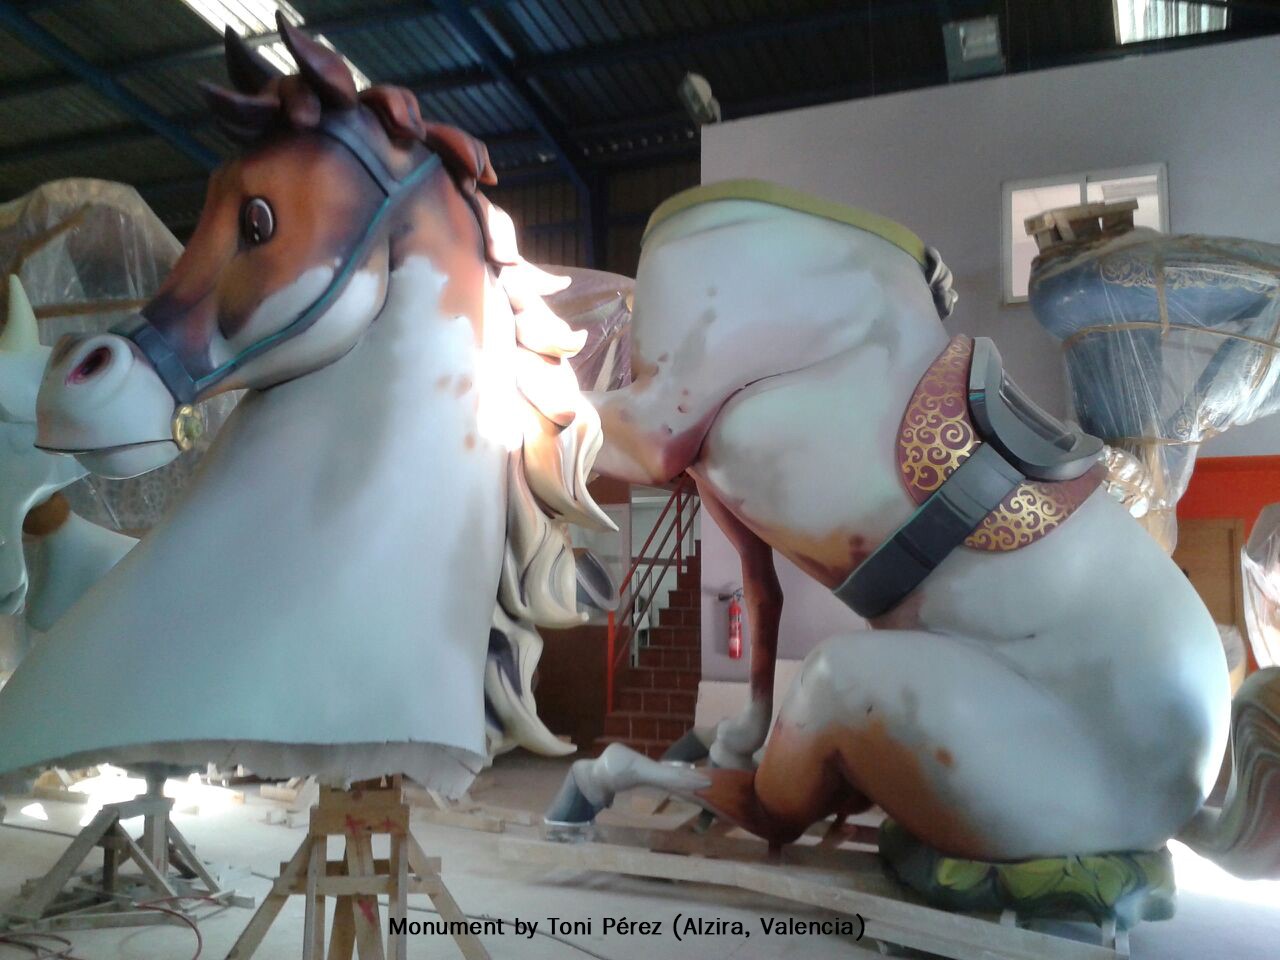
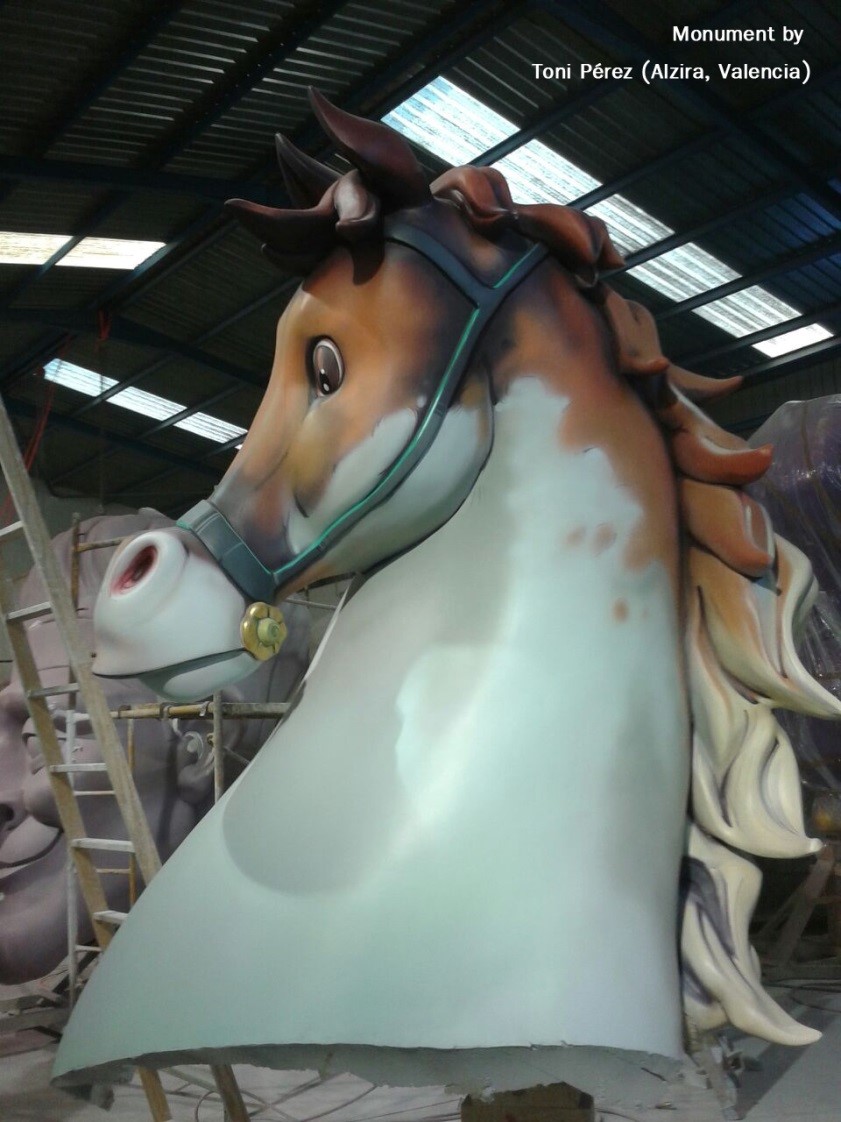
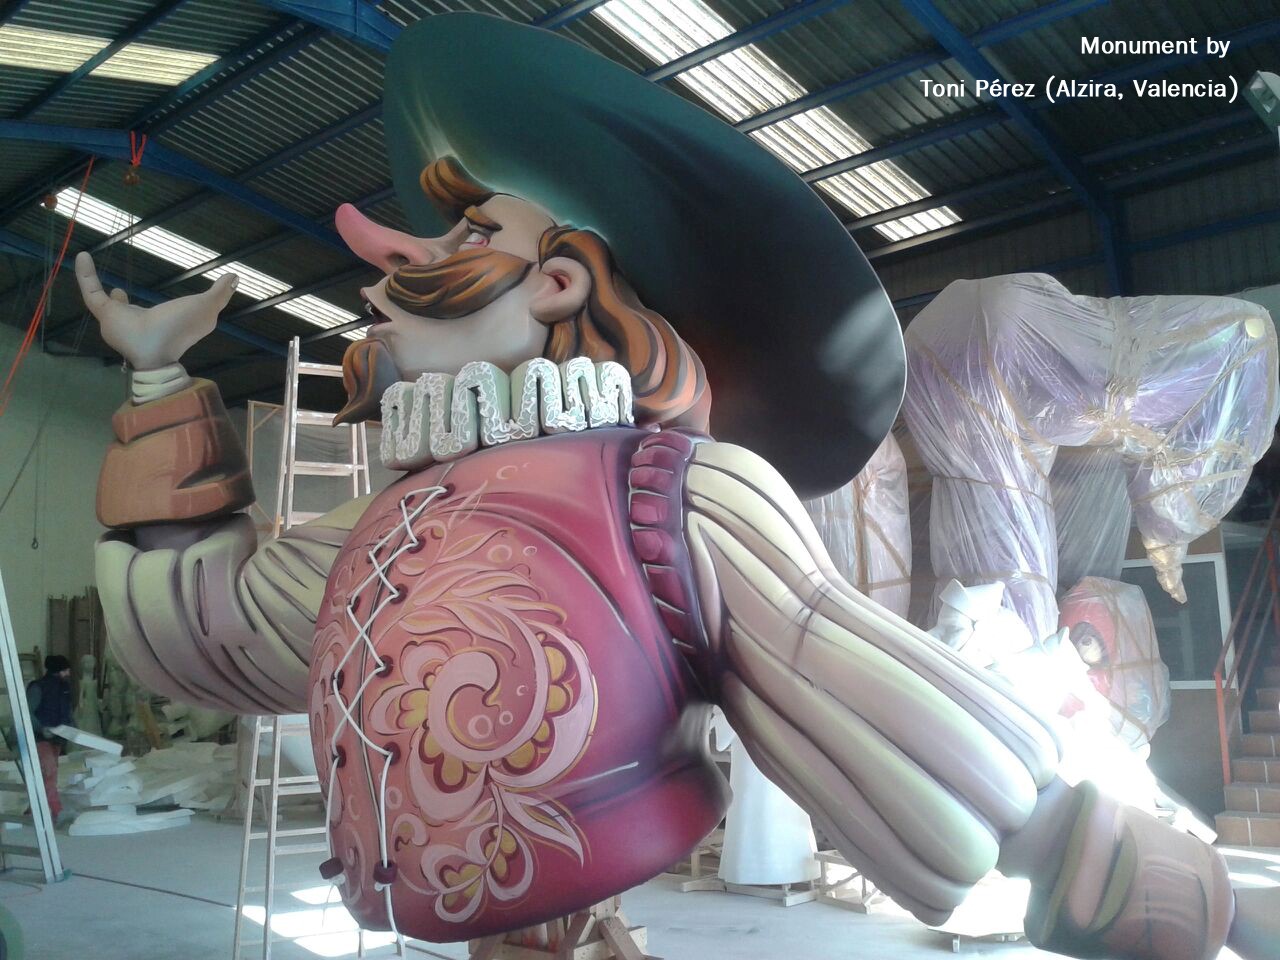
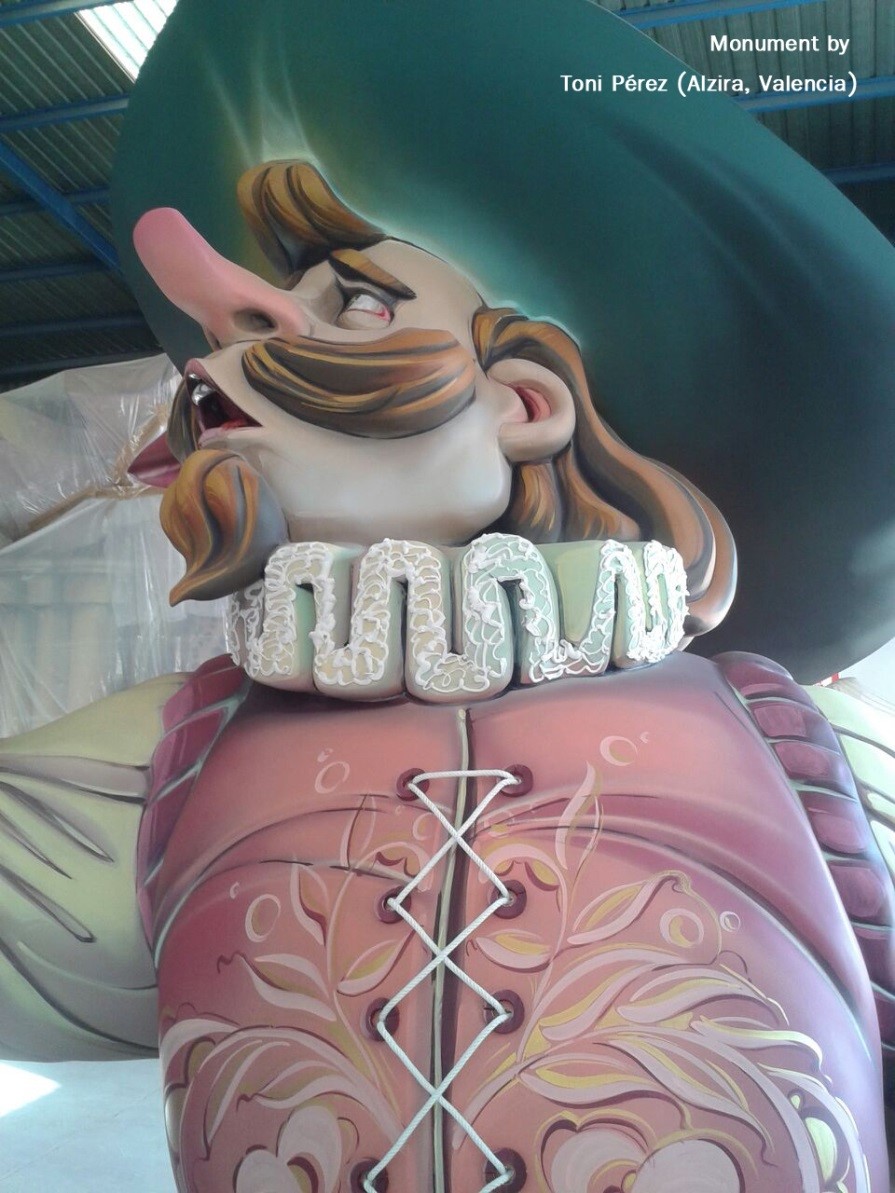
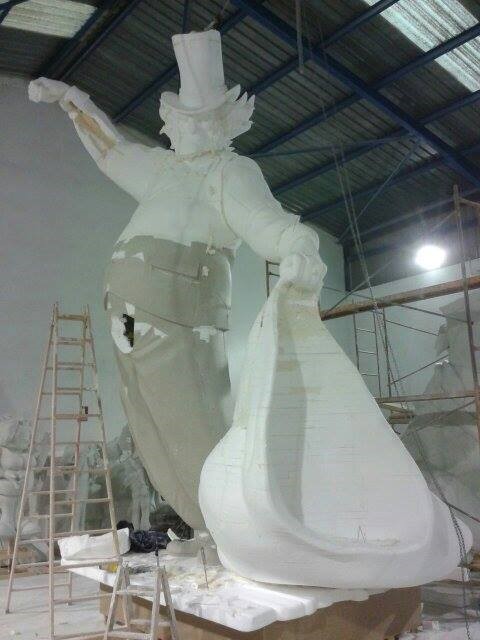
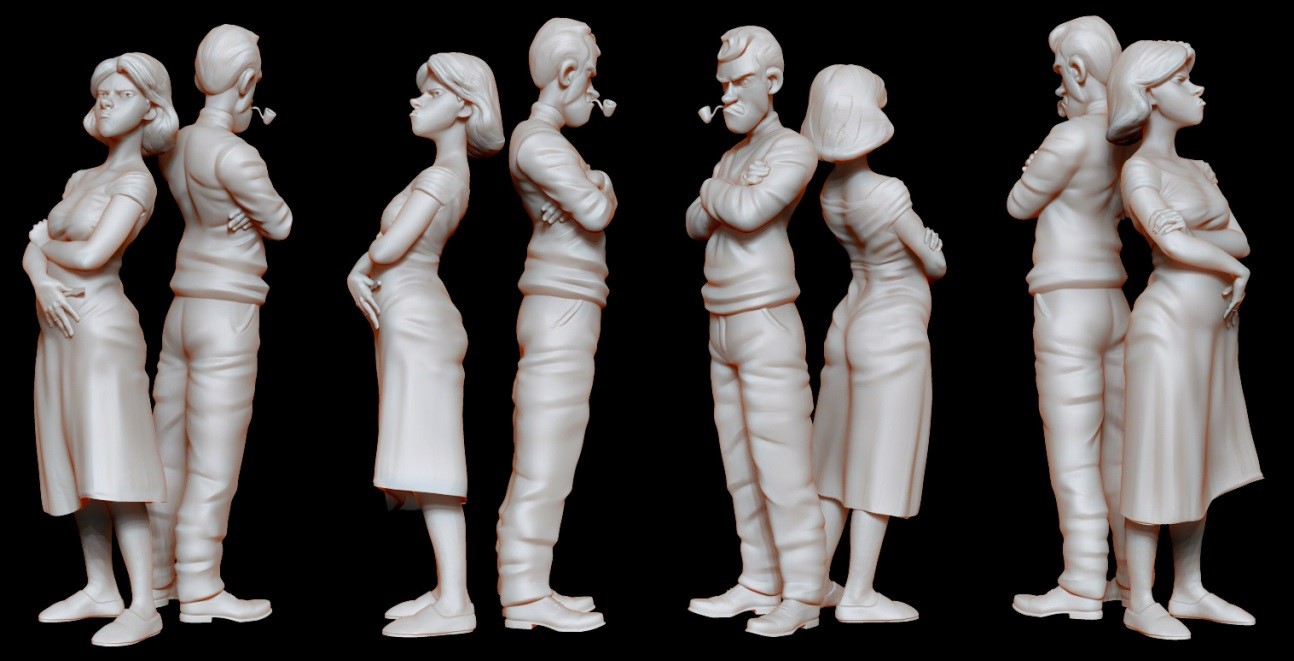
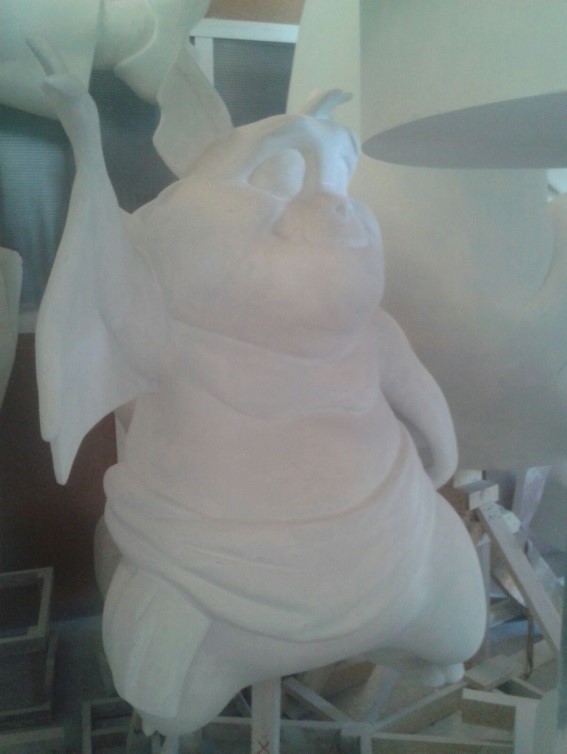
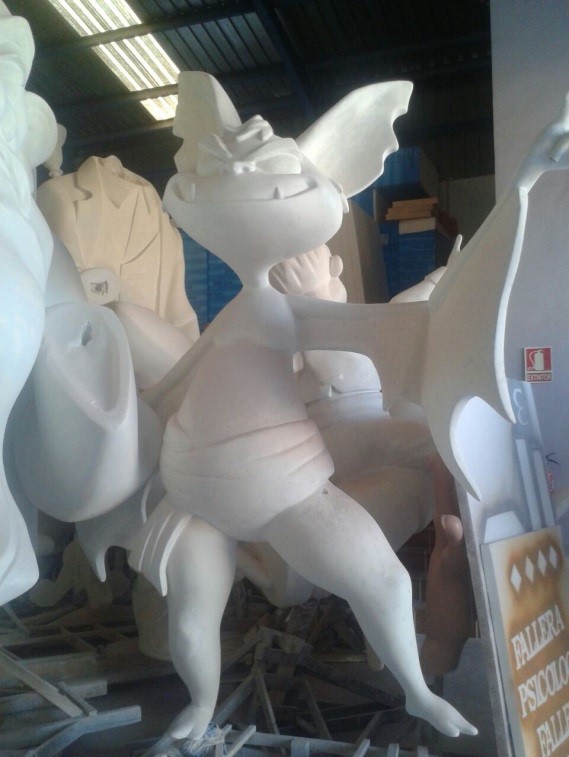
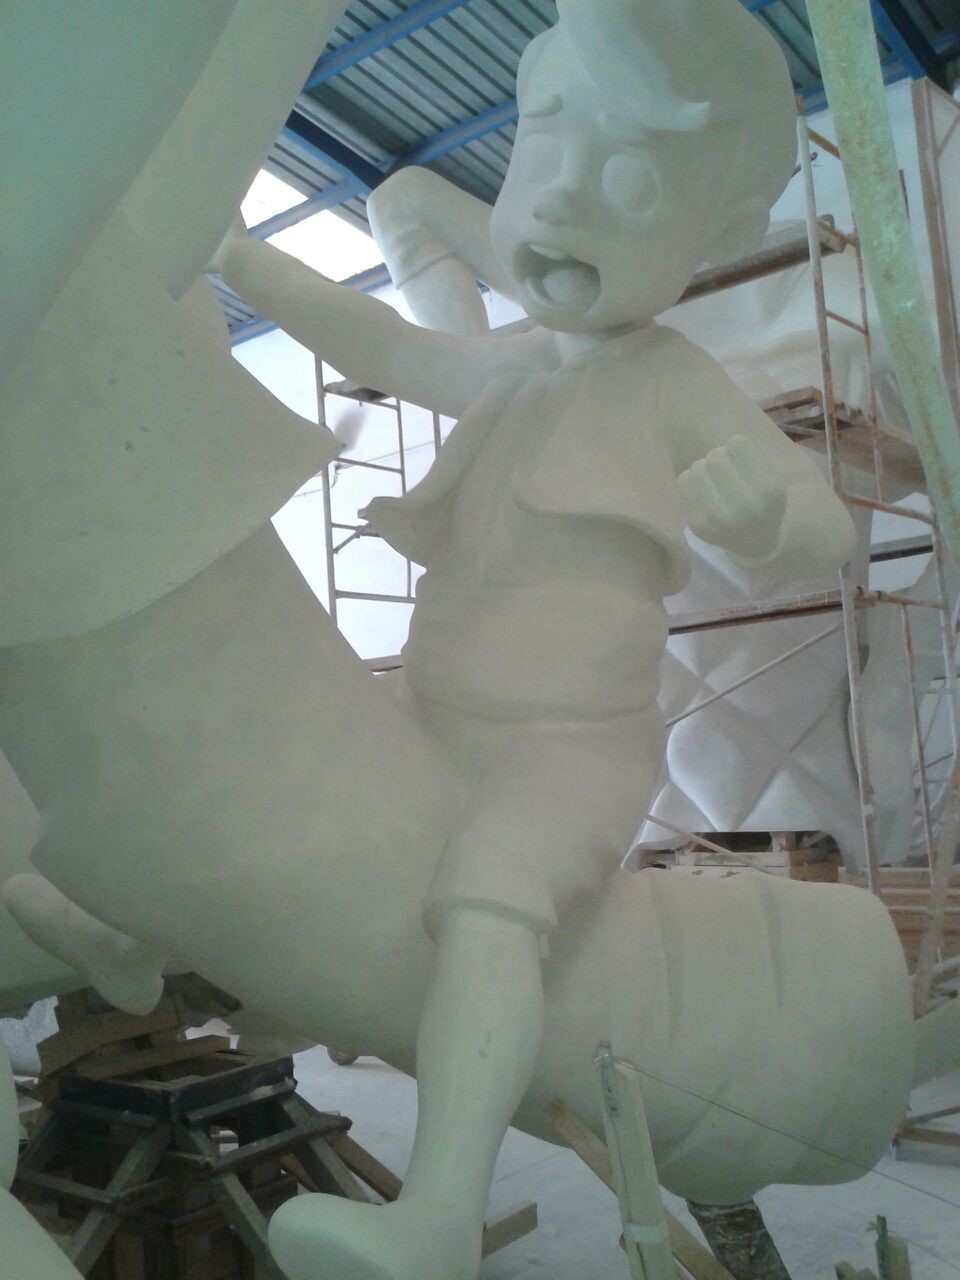
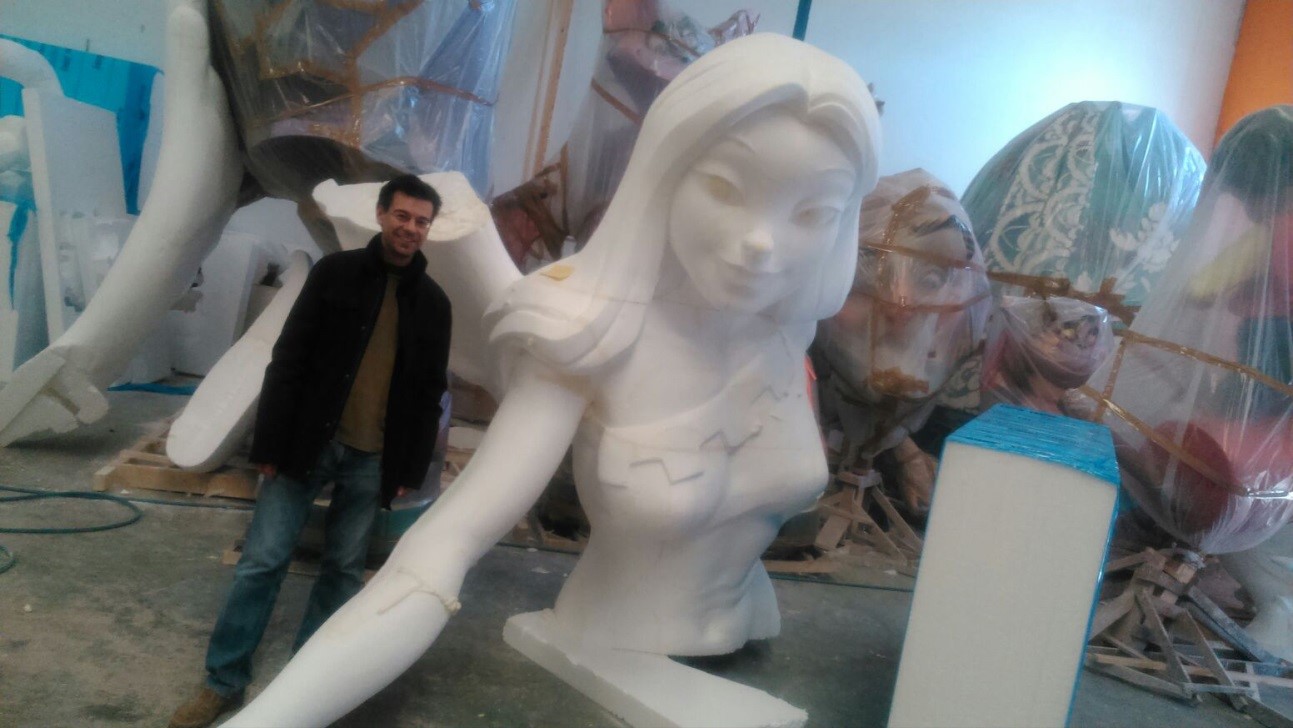
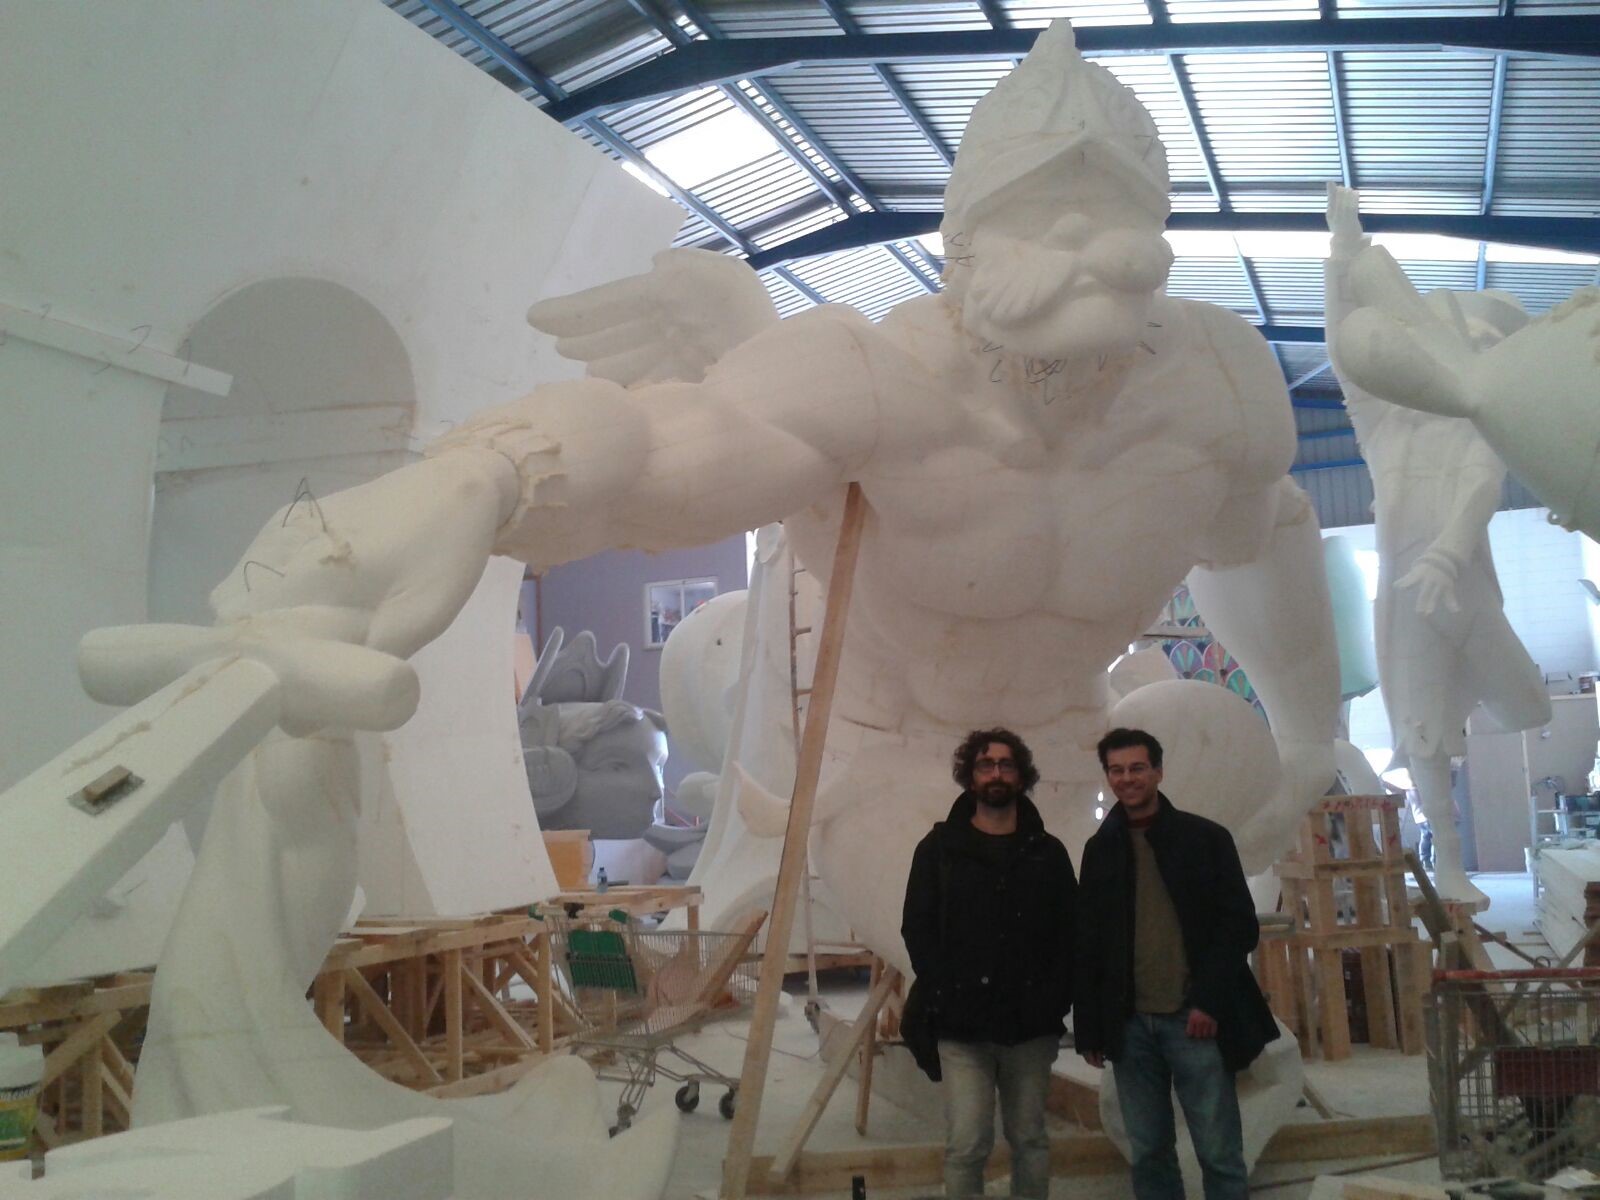
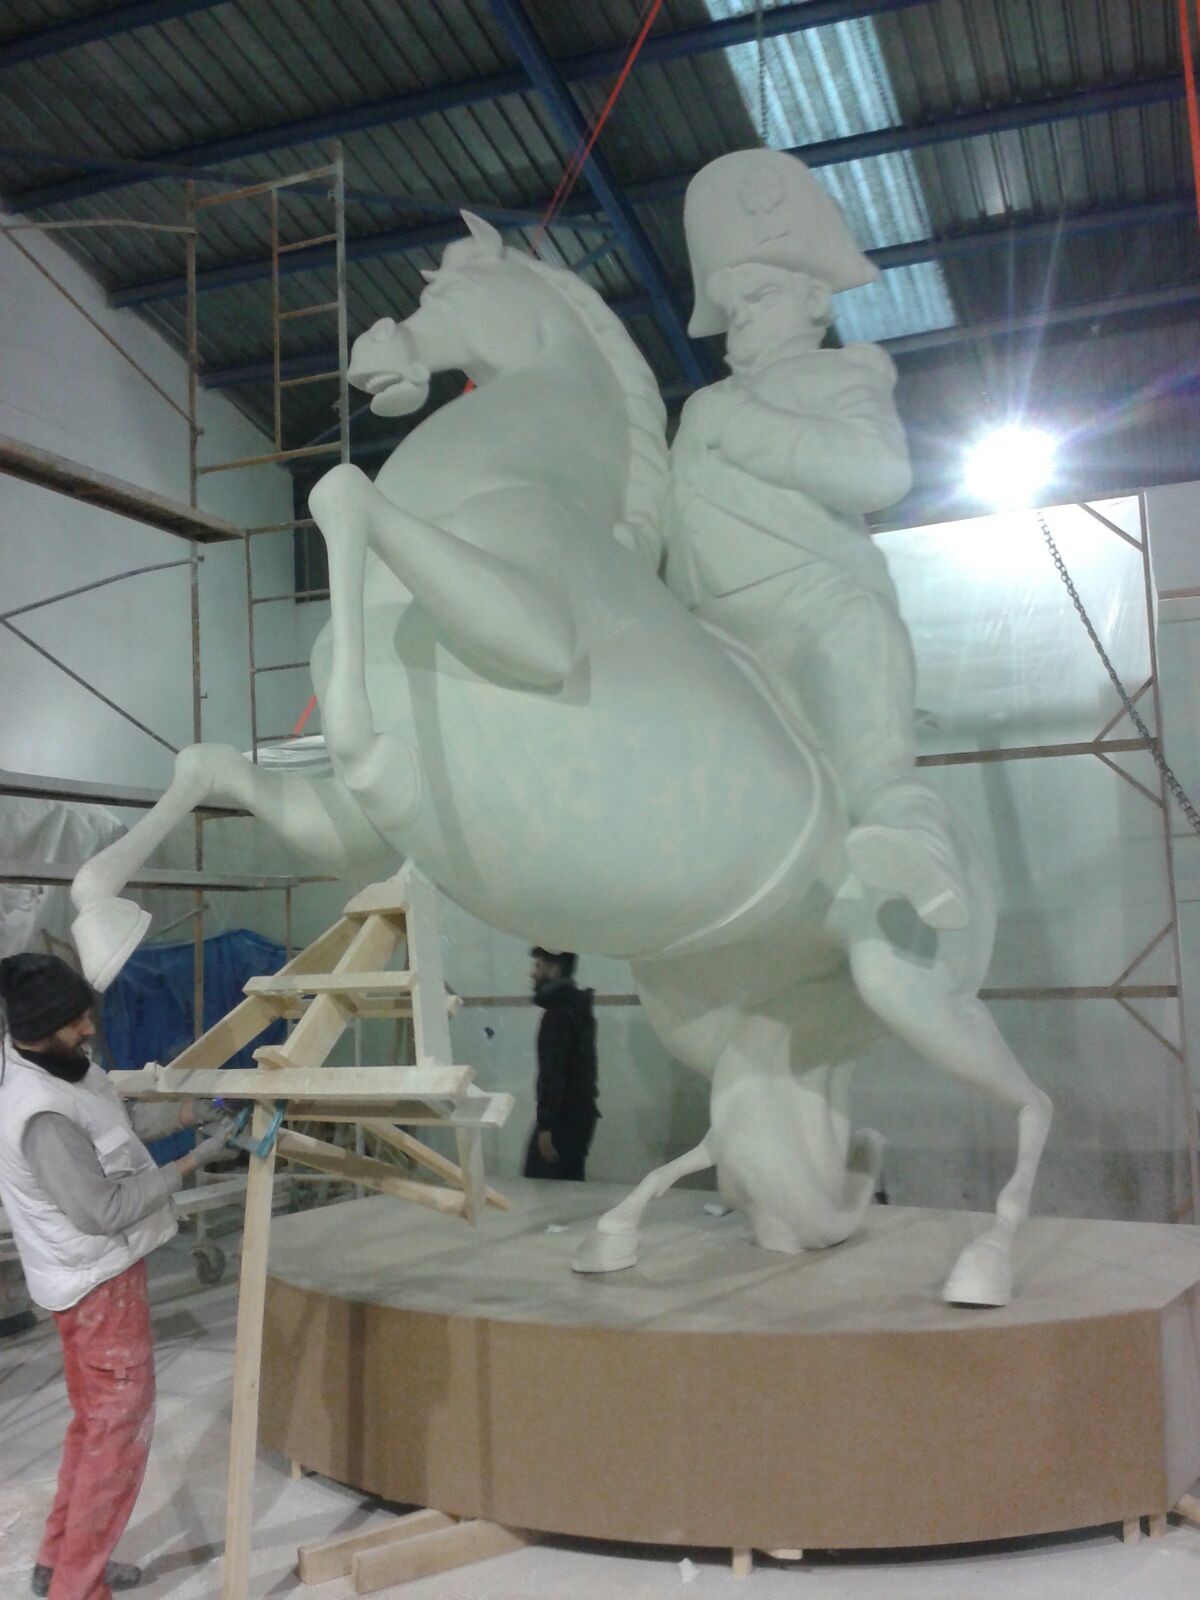
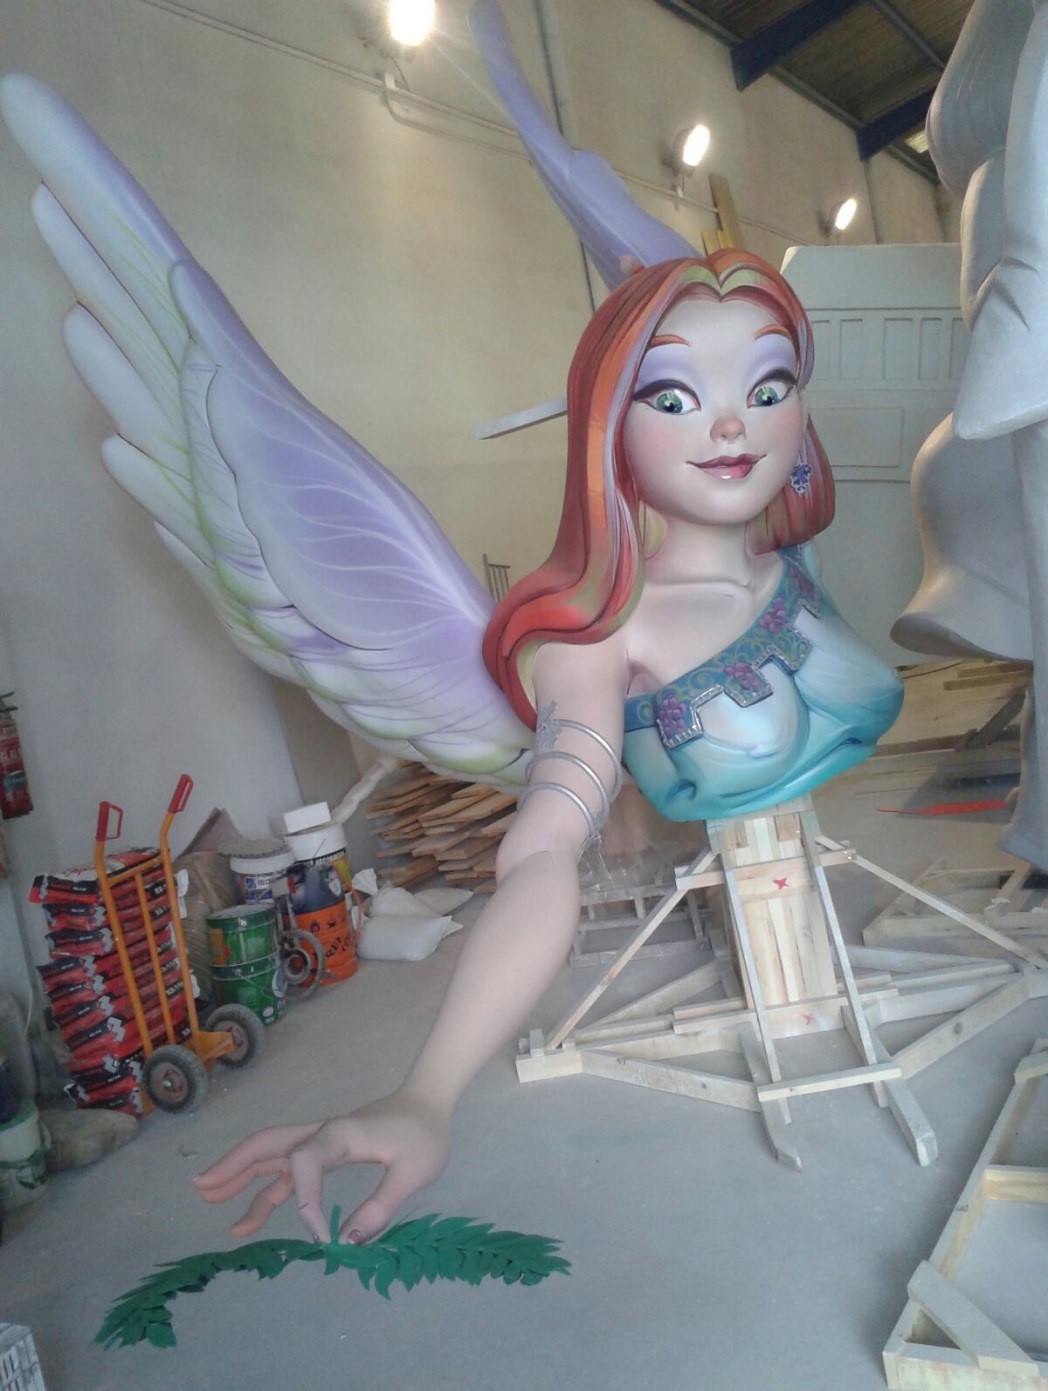
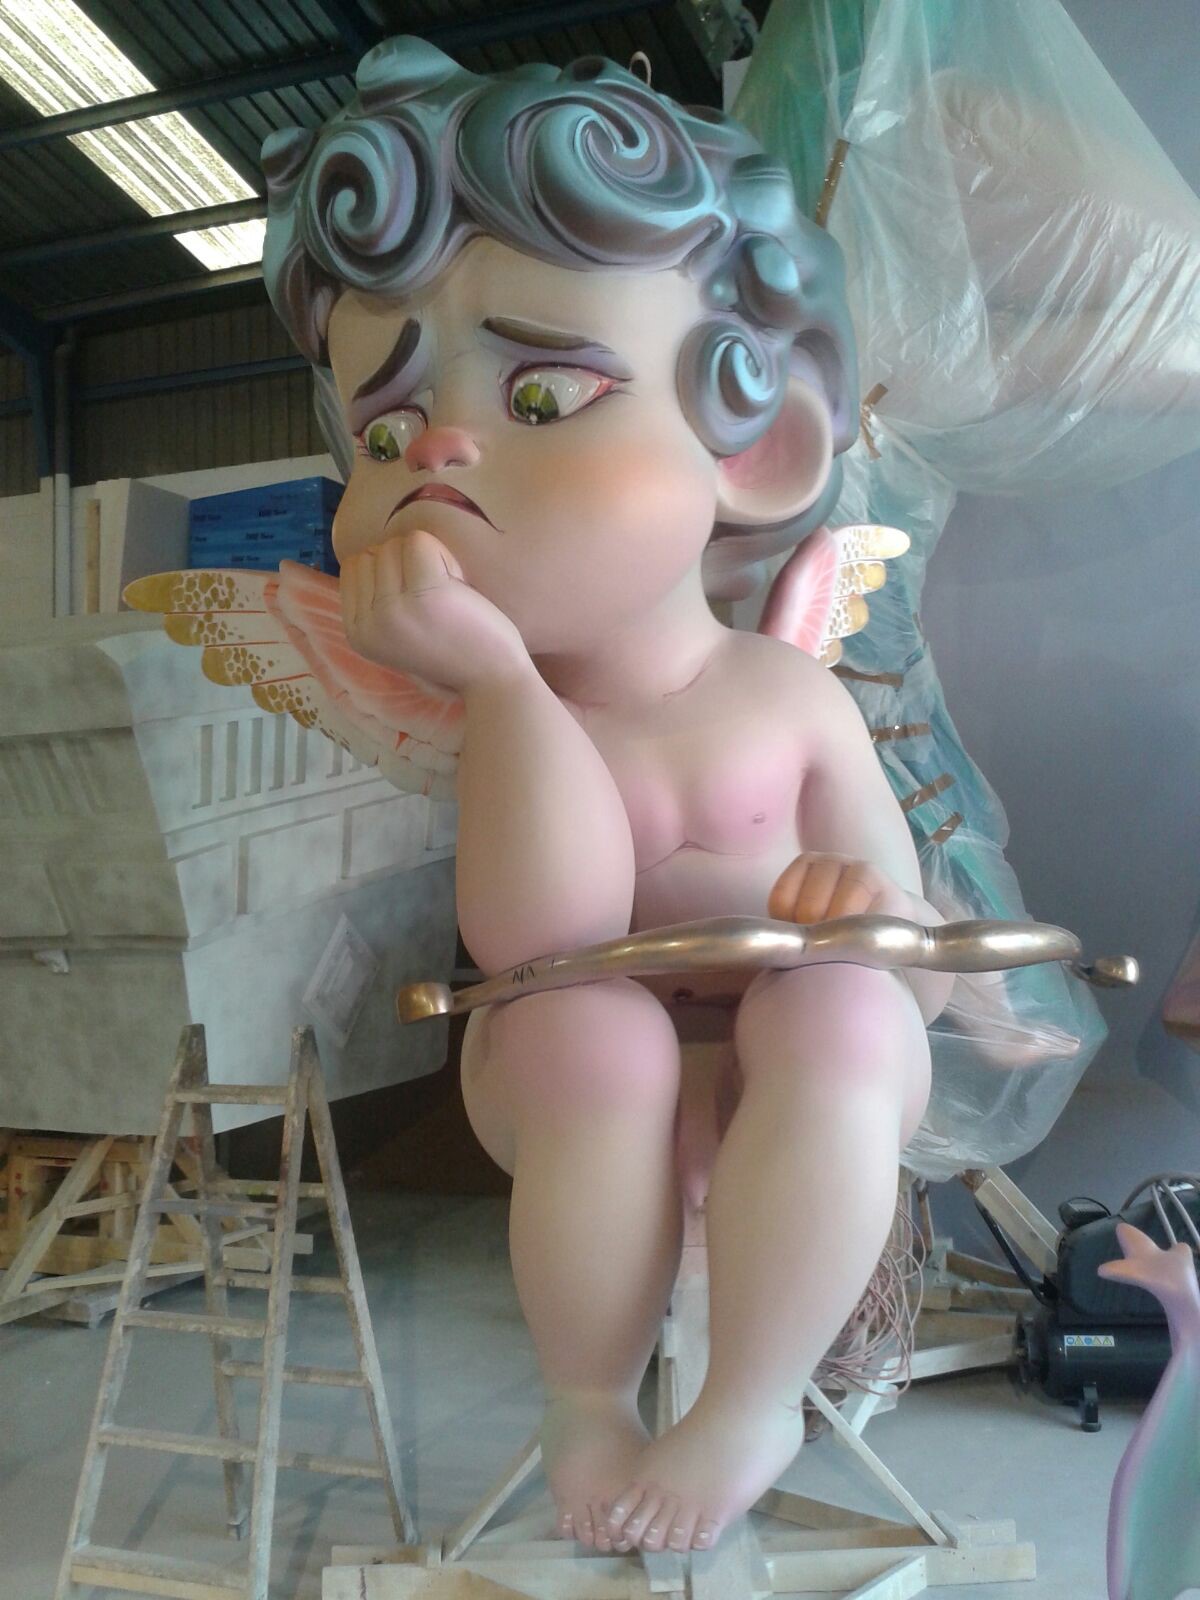
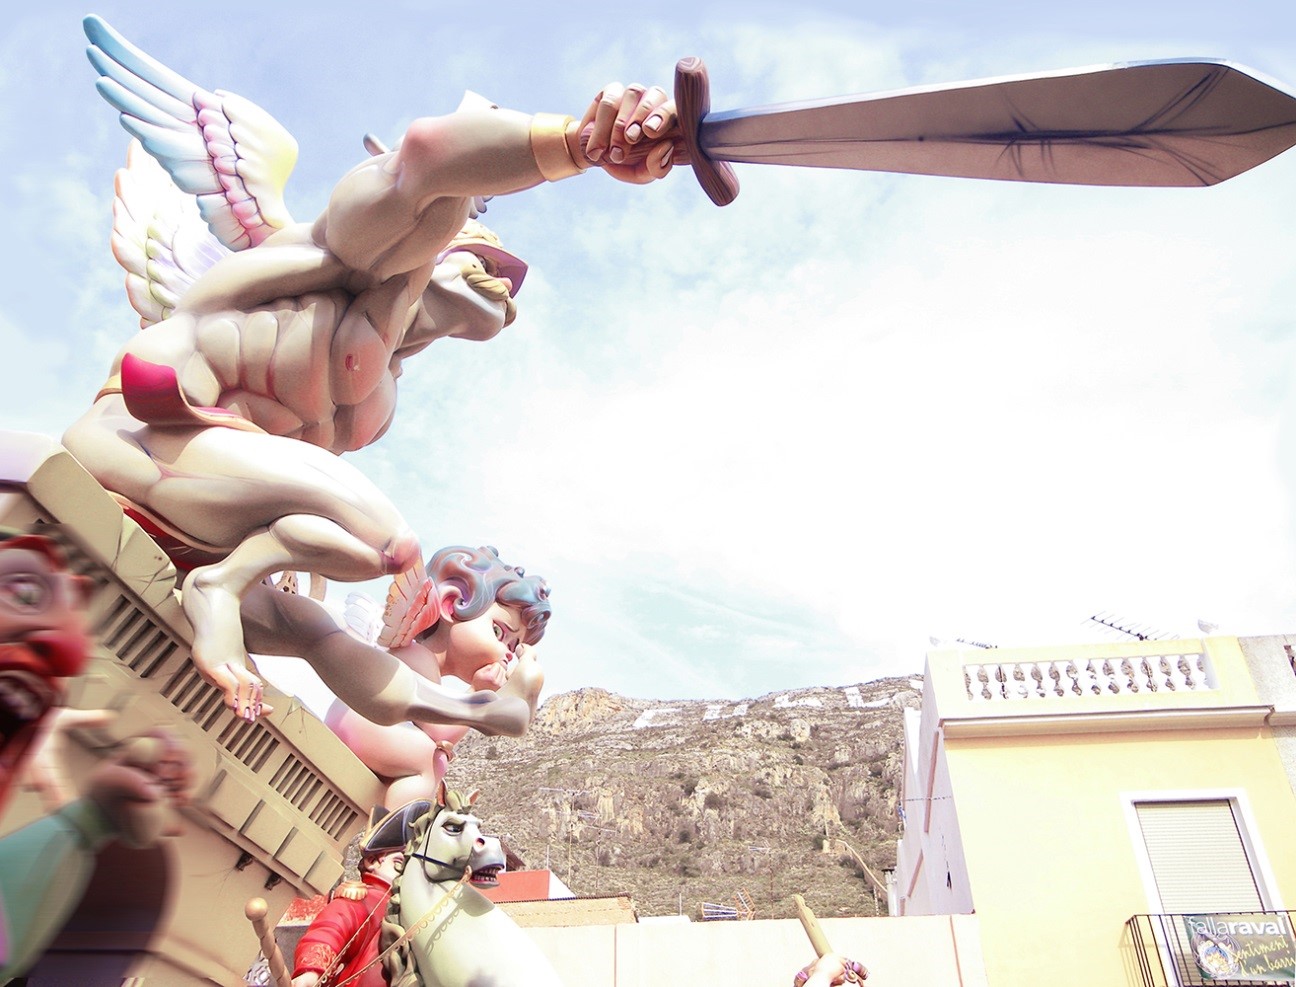
Once in the workshop, a technician will use a CAD application to automatically divide the OBJ mesh into many pieces. The milling machine will print these pieces using polystyrene blocks. Back in the workshop, the falla artist will glue the pieces together, connect them to the frame, sand them, and treat them with a plaster primer before painting.