What was behind your decision to use ZBrush from the earliest stages?
I am a big fan of the direction ZBrush has taken with regards to quickly generating form from scratch. I have found myself using
ZBrush a lot more for concept work over the last couple of years, mainly because of it's newer features such as Dynamesh.
At this point in time, I can say that my workflow for asset creation has been completely flipped around as well. Not too long ago, one was forced to focus on creating a clean high-resolution mesh before any sculpting could happen. That was mainly because it's beneficial to provide the riggers with a model as soon as possible. Details would then added by modelers in tandem.
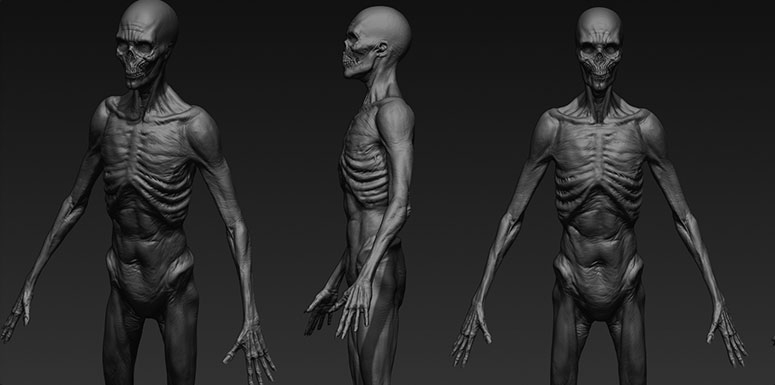
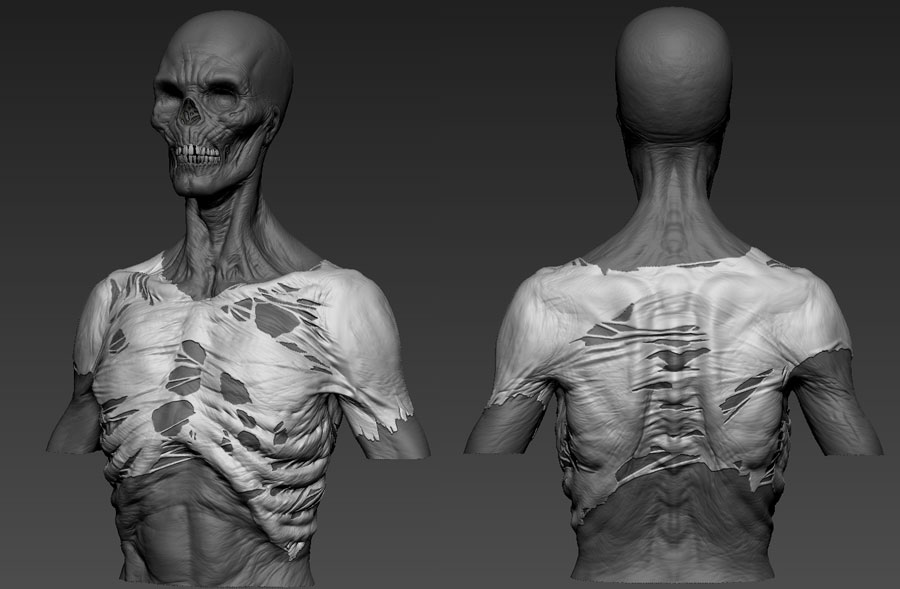
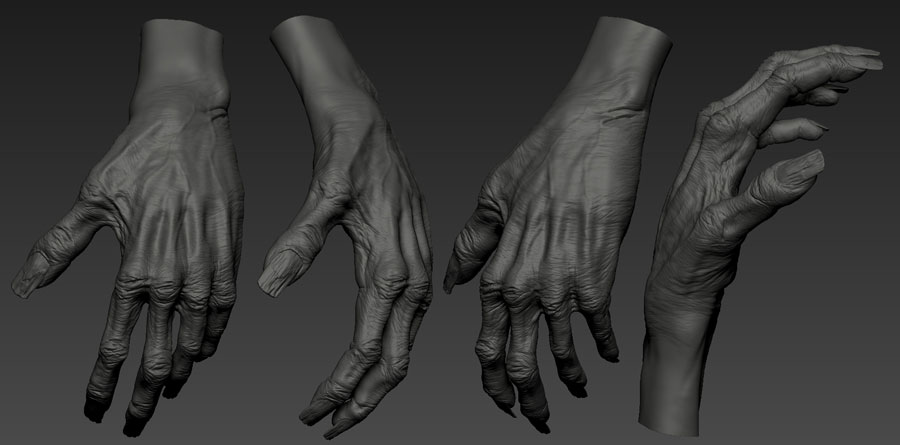
These days I start sculpting right away, mostly just starting from a DynaMesh sphere. I don't worry about creating the animation mesh until later, after the client is happy with the look. The overall speed with which ZBrush allows me to work makes this possible. It really was a no brainer to introduce ZBrush to the pipeline at Look Effects.
What advantages did DynaMesh give you when working on the concept?
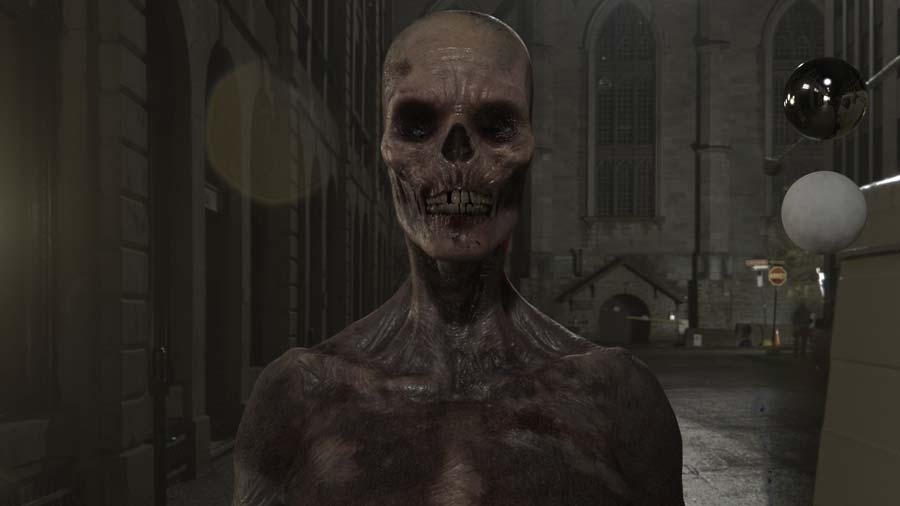
With DynaMesh we were able to get approval from Jonathan Levine (director of the film) on the model, before we had to build the animation mesh. I think it worked out very well for both us and for Jonathan, who was relatively new to VFX and the digital production process. I think it was great that he was able to look at full rotations of a fairly detailed boney without having to wait on us to finish an intricate polygonal wire model first.
Were there any other ZBrush features that were particularly useful at this stage?
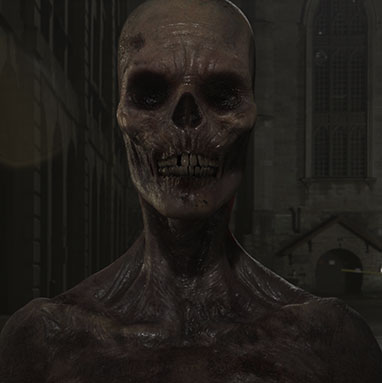
The Best Preview Render tools were great to generate quick, nice looking turntables without ever having to leave ZBrush or occupy our render farm. This was especially useful during the initial stages, where we were pinning down the look of the boneys whilst working on the blendshapes.
How did ZBrush help with creating concept variations? What were your techniques?
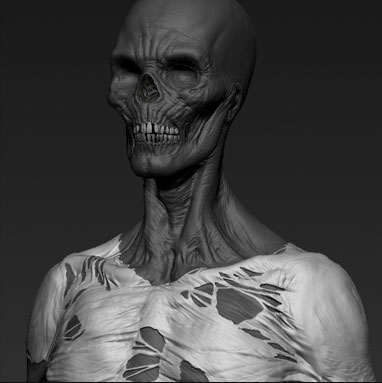
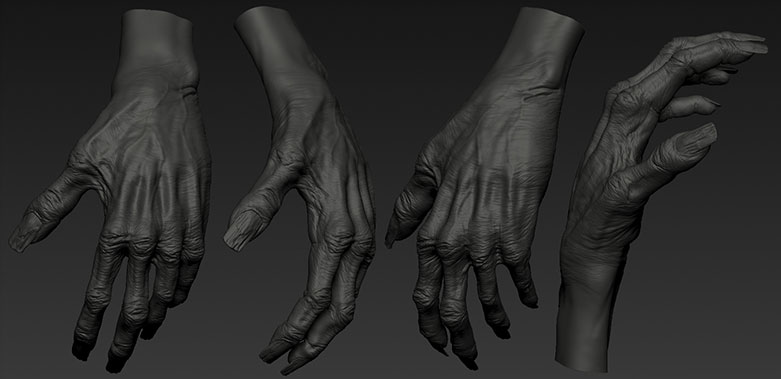
DynaMesh again came heavily into play while doing the variation concepts. Taking the initial model, moving proportions around and resculpting some facial features could be done very quickly in ZBrush. A little bit of Polypaint and playing with some additional "rim lights" helped to create a base which was taken into Photoshop for the final touches.
It's incredible to see how ZBrush has evolved its toolkit over the years. The first version I worked in was ZBrush 2.0, which I used only to detail models through bump maps. Since then it has become my main tool for asset creation and concept work. ShadowBox, DynaMesh, Polypaint and Best Preview Render are all amazing additions that have become central tools in my workflow.
How did concepting in ZBrush translate into benefits once the concept was approved? Once concepts were approved, it was really just a matter of cleaning up. Having a 3D base in ZBrush to start from instead of just a 2D painting is a big time saver. There's of course still a significant amount of traditional polygonal modeling involved to ensure proper deformation, but even that process is much faster these days.
)
)
)
)