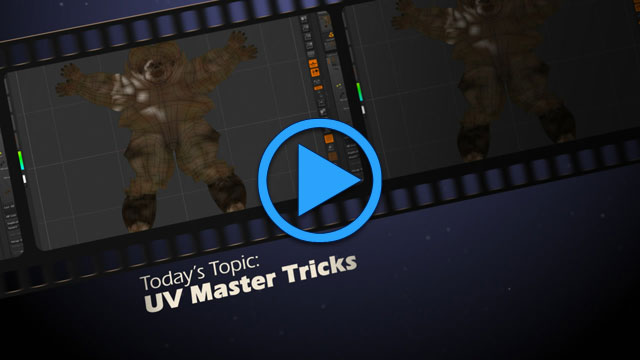
Technique #2: Easy UV Renders
We recently invited Keith Harmon to come speak at the DAVE School. Keith works as one of the lead modelers at a large game company here in Orlando. During our conversation after his presentation, he mentioned how often people forget to show off UVs in their demo reel. For modelers and texturing artists, showing that you know how to unwrap a UV map, properly place seams, and maximize the use of the UV space is critical.
Most users know about ZBrush's amazing tile UV maps (such as AUV, GUV or PUV). However ZBrush has a remarkable plugin called UV Master (available from the Pixologic website) that allows you to create high-quality Pelt maps. It's fast and remarkably easy to use. Once installed, simply open the Plugin | UV Master menu, press the Work on Clone button to create a copy of your current SubTool, then press the Unwrap button. To see the UVs, press the Flatten button. If you don't like your results, apply a very small amount of control painting (less is definitely more here) to help nudge the unwrapping in the right direction.
You can set options in the UV Master menu to attempt to maintain symmetrical UVs, create UV islands based on polygroups, and flatten the 3D object so you can see the actual UV space.
The function of the Flatten button might seem obvious, but few realize that once flattened, you can actually adjust the geometry in the UV space. This allows you to manipulate vertices (important for those rare times that UV Master creates overlapping geometry in the UV space), move UV islands with the Transpose tools, and even polypaint and sculpt on the flattened geometry. You can render the UV space with BPR and, combined with the Wireframe options outlined in Technique #1, create perfect UV renders for use on your demo reel.
Bonus Tip!
If you find that your wireframes have shifted after sculpting your object and the edges are no longer evenly distributed, you can "clean up" the wireframes using either the Reproject Higher Subdiv tool in the SubTool menu or the new Relax slider found in the Tool | Deformation menu. Just drop your SDiv slider down two or three levels below the highest one, then use either tool mentioned here. (Note that these tools will adjust your mesh, so be sure to check for any abnormalities in your sculpt after running them.)
If you'd like to show off your textures with the UV geometry laid over them, simply transfer the polypaint from your high-res object to an image map by clicking the New From Polypaint button in the Tool | Texture menu. Then, go back to UV master (working on a clone of the geometry) and flatten the object. Once flattened, you can go to the Tool | Texture menu and select the image map with your texture.


